DH and I have been doing the green smoothie thing for about a year. We are fortunate to live where fresh fruit is abundant, but I also use frozen when what I want is out of season. Today I bring you this piece of deliciousness
Good Morning Sunshine
2 c. spinach
1 c. coconut water
1 c. water
2 Tbs chia seeds
1 orange peeled
1/2 lemon squeezed
1 c. frozen peaches
1 banana (I keep mine frozen just for smoothies!)
Blend spinach and waters in blender until smooth. If you have a high powered blender like a Vitamix or Blendtech, this is about 30 seconds.
Add remaining ingredients and blend for another 30 seconds. If you have a different type of blender, you may need to blend longer. Drink and enjoy! This makes 2 big servings :-)
Sunday, March 01, 2015
Good Morning Sunshine
Posted by Nancy Winningham at 2:07 PM 0 comments
Labels: green smoothie
Friday, January 02, 2015
First SWAP item finished
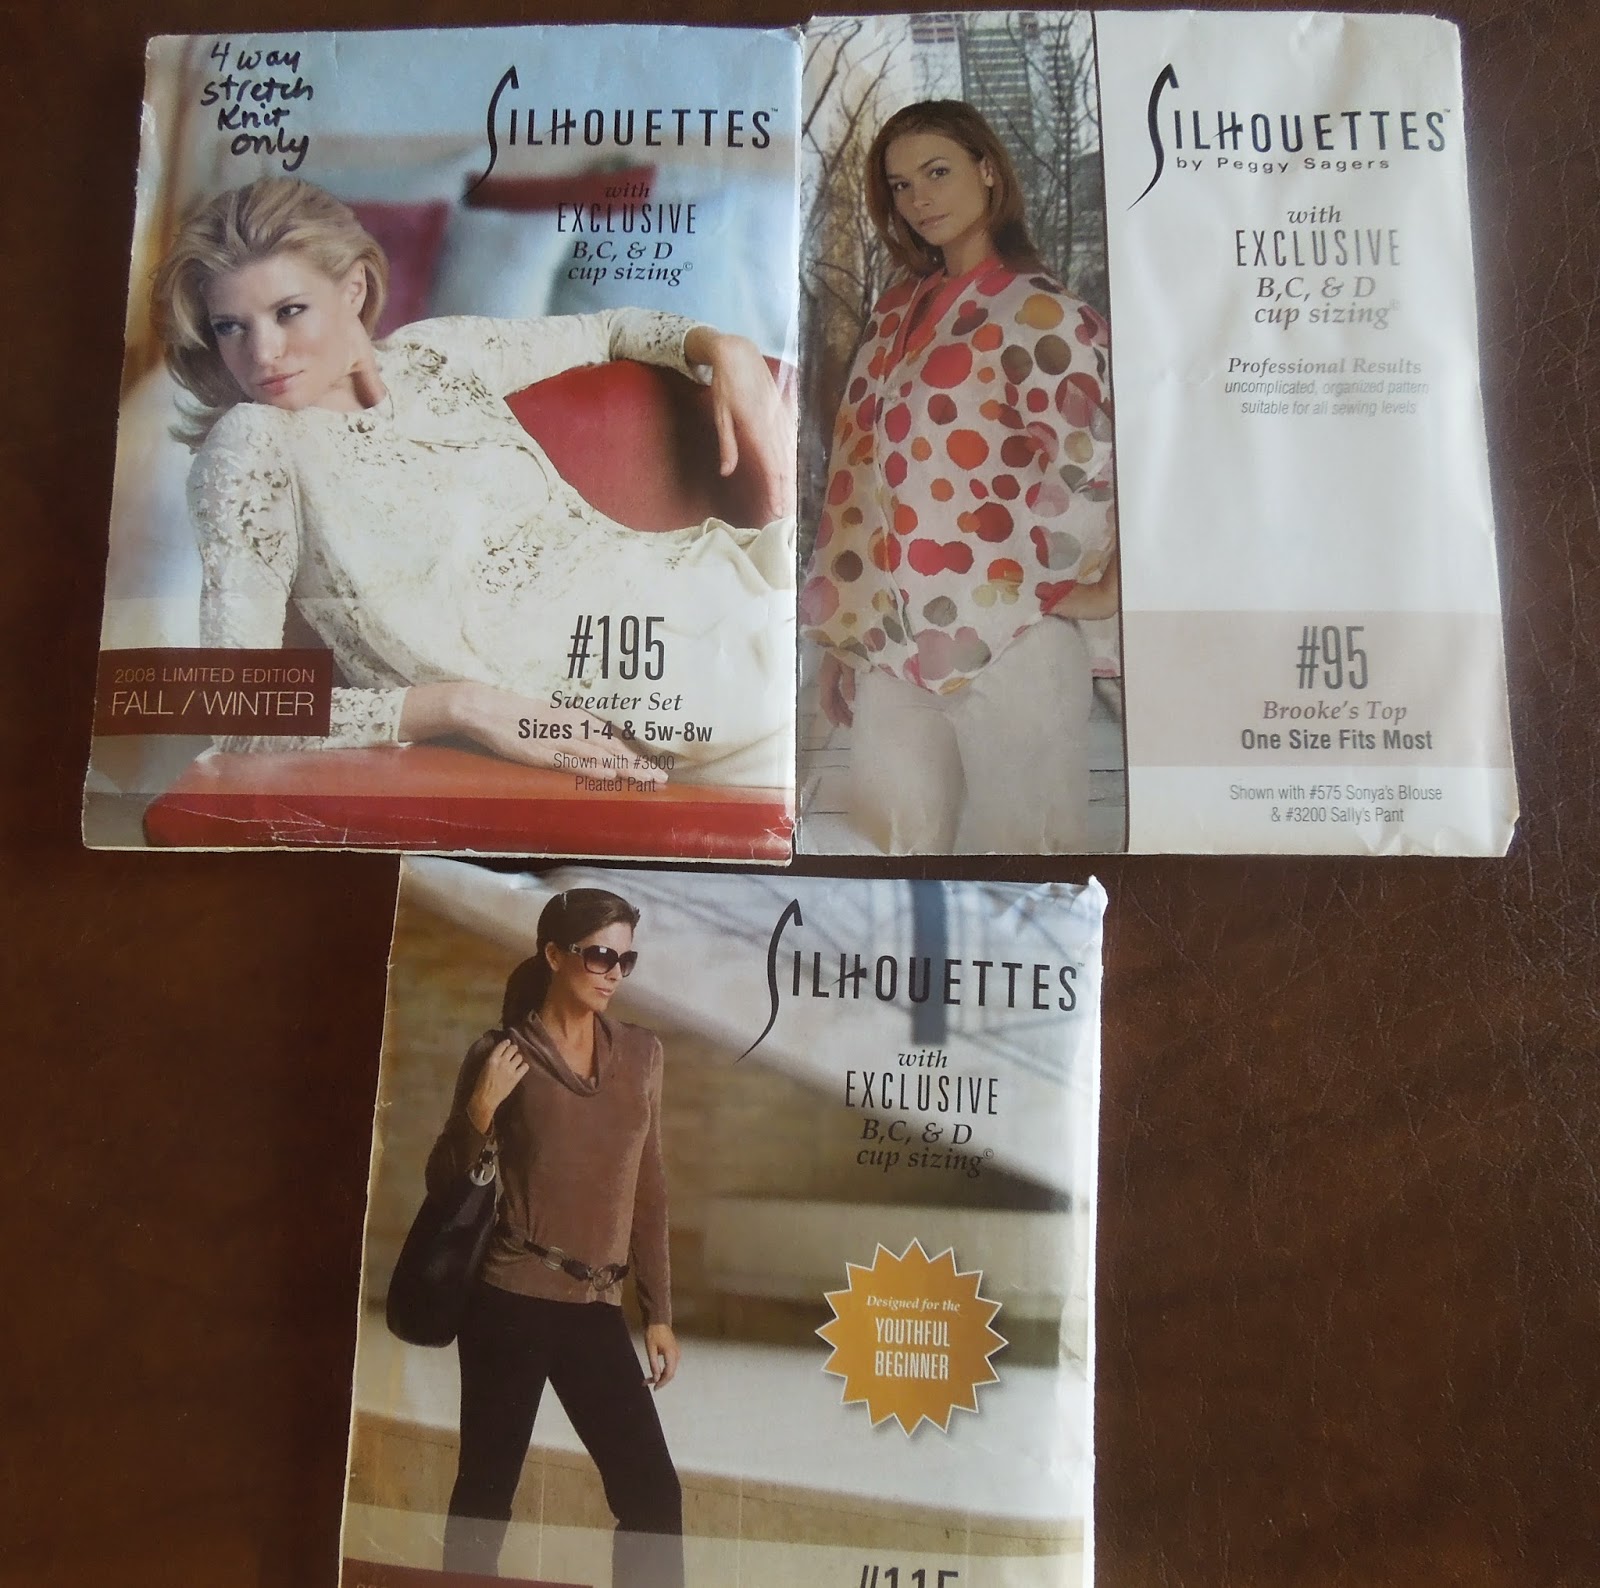
Here is what I am planning for swap. In my last post I put that I was making a blue yoga skirt. I forgot that I had already changed that to a gray striped ruffled skirt as seen in the Sandra Betzina pattern on the left.
So, in the first pattern, I have the blouse already cut out - view on the left. Dress in the DKNY pattern - finished (pix below) Pants, have a muslin pair cut and skirt will be a gray stripe.
Posted by Nancy Winningham at 11:21 PM 4 comments
Great Start to a New Year
Happy New Year everyone! Yesterday we had a wonderful day. We had 15 people over for brunch. This is becoming an annual event since we've done it 2 years in a row now! We had great friends, great food, great fellowship. It was freezing outside, but also sunny and beautiful. Since we are blessed to have lots of windows and a beautiful view, a fire in the fireplace kept us all toasty and the views were gorgeous! I should have taken pictures, but I was too busy eating and having fun! We had a ton of food, including
- Quiche
- Garlic Roasted Potatoes
- Chili Relleno Casserole (my mom's old recipe which uses 1/2 & 1/2. I tried to find a similar recipe, but most use evap milk)
- refried beans
- tortillas
- Cinnabon cinnamon rolls
- Palm leaf pastries
- and of course, juice, tea, coffee, lemon infused water
Oh, brother, just thinking about school and I'm already distracted. Back to my main point, this dress will be the first item completed for my swap. Well, I have a pair of pants completed, but you are allowed a previously made garment. This is what I have planned:
Bottoms:
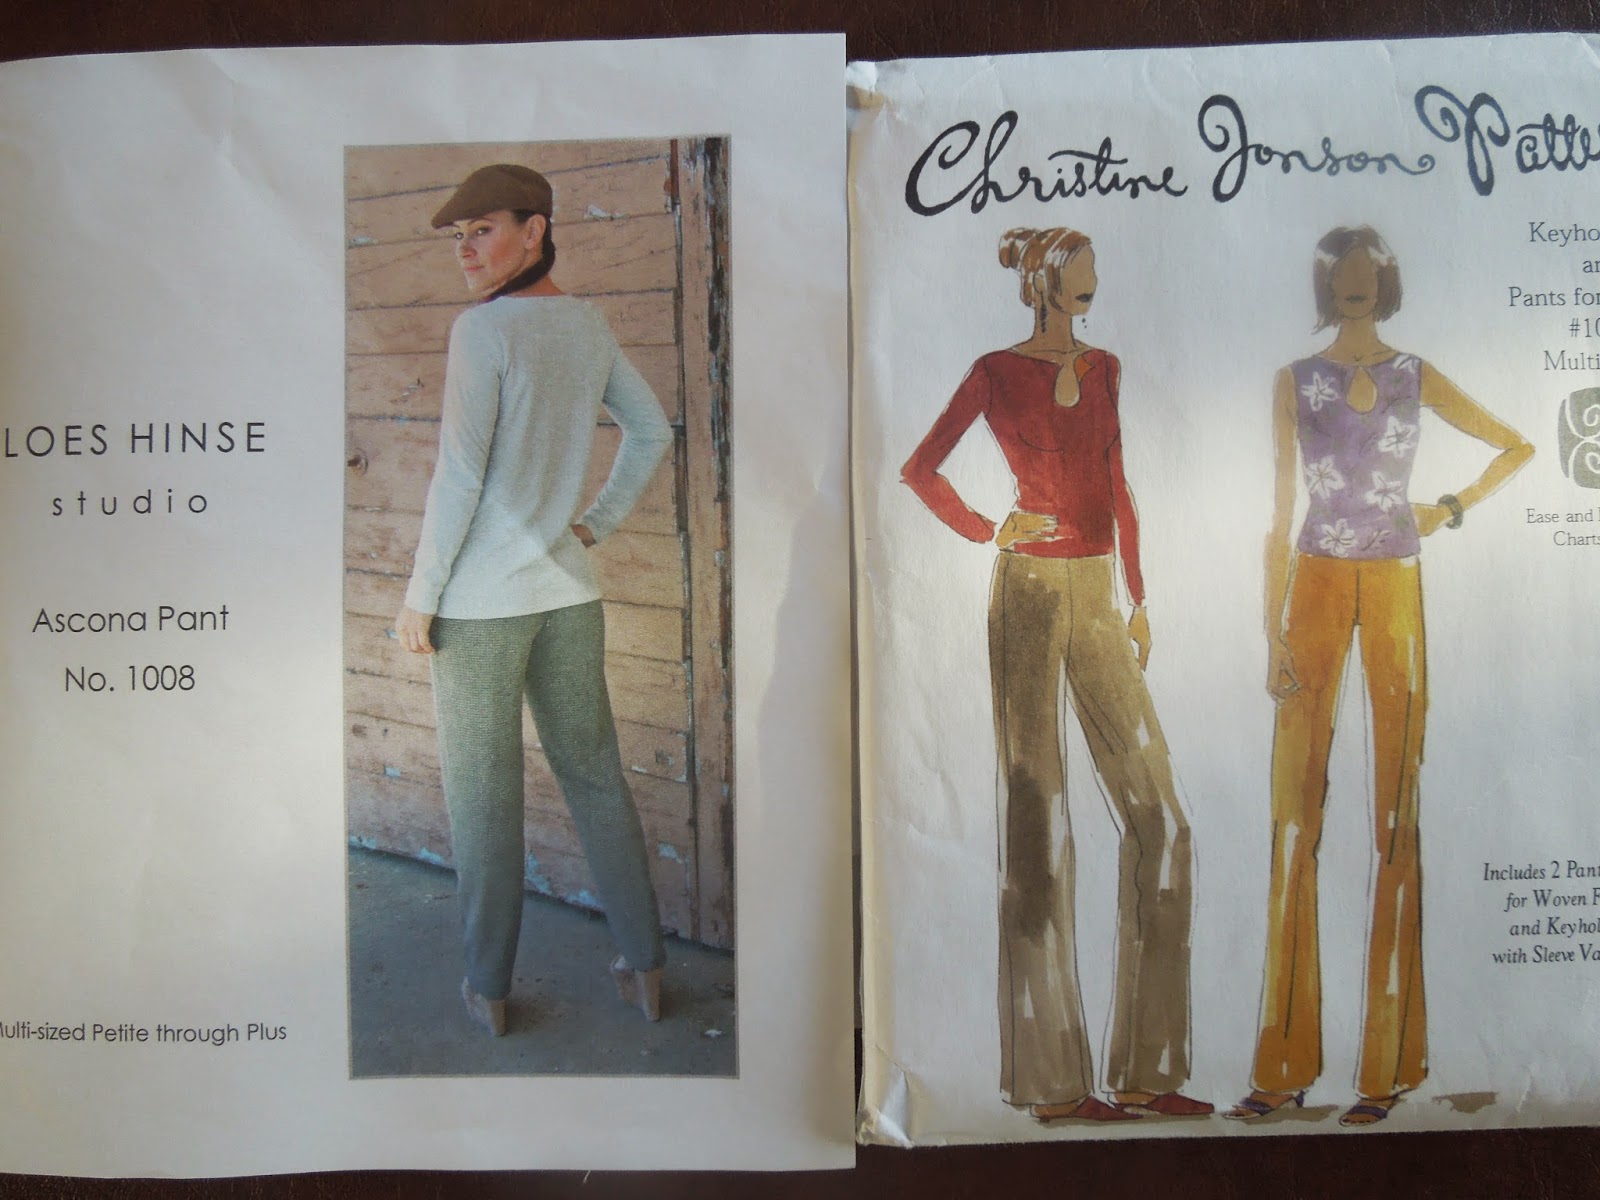
- Gray pants - LH Ascona pattern (already made)
- Navy Wool Pants - Sandra Betzina pants making class on craftsy pattern
- Navy rayon knit yoga skirt - Peggy Sagers SP
- Navy & Gray sweater knit cowl -SP
- Ivory crepe drape front blouse - Tom and Linda Platt Vogue 1415
- Reversible Navy and mint shell - CJ Patterns keyhole top
- Long sleeve Navy rayon knit T - either SP twinset or CJP keyhole
- Gray sweater knit Shell - SP twinset
- Gray sweater knit cardi - SP twinset
- Black, White, and Blue knit dress - DKNY Vogue 1250
- Navy with mint fleck woven topper - SP Brook's Top
Posted by Nancy Winningham at 8:20 AM 4 comments
Saturday, December 27, 2014
Getting Started Early
Since I did hardly any sewing for 2014, I'm counting anything I make now for 2015! I'm strongly considering doing the 2015 SWAP over at Stitcher's Guild. One of the things I want to make is this Tom and Linda Platt top from Vogue 1415. I have something called "Eurostretch crepe" which is a rayon blend. No idea where I got it. It's cream colored. I think it will be perfect.
- Fugazzis
- The Depot
- The Vintage Press
- Watson's (only open for lunch, but great vegetarian food)
- Pita Kabob - three locations, all excellent
- Brewbakers if you're looking for handcrafted brews
- Taj Palace - Indian food - lacking atmosphere, but great food
- Several sushi restaurants. Our favorites are Gozen and Sake
- Plus a slew of mexican restaurants and chain restaurants (Olive Garden, Chilis, Panera, Wild Wings, etc)

Posted by Nancy Winningham at 4:55 PM 6 comments
Labels: crochet, crochet hat, DKNY, mobius, Tom and Linda Platt, V1250, V1415
Saturday, November 29, 2014
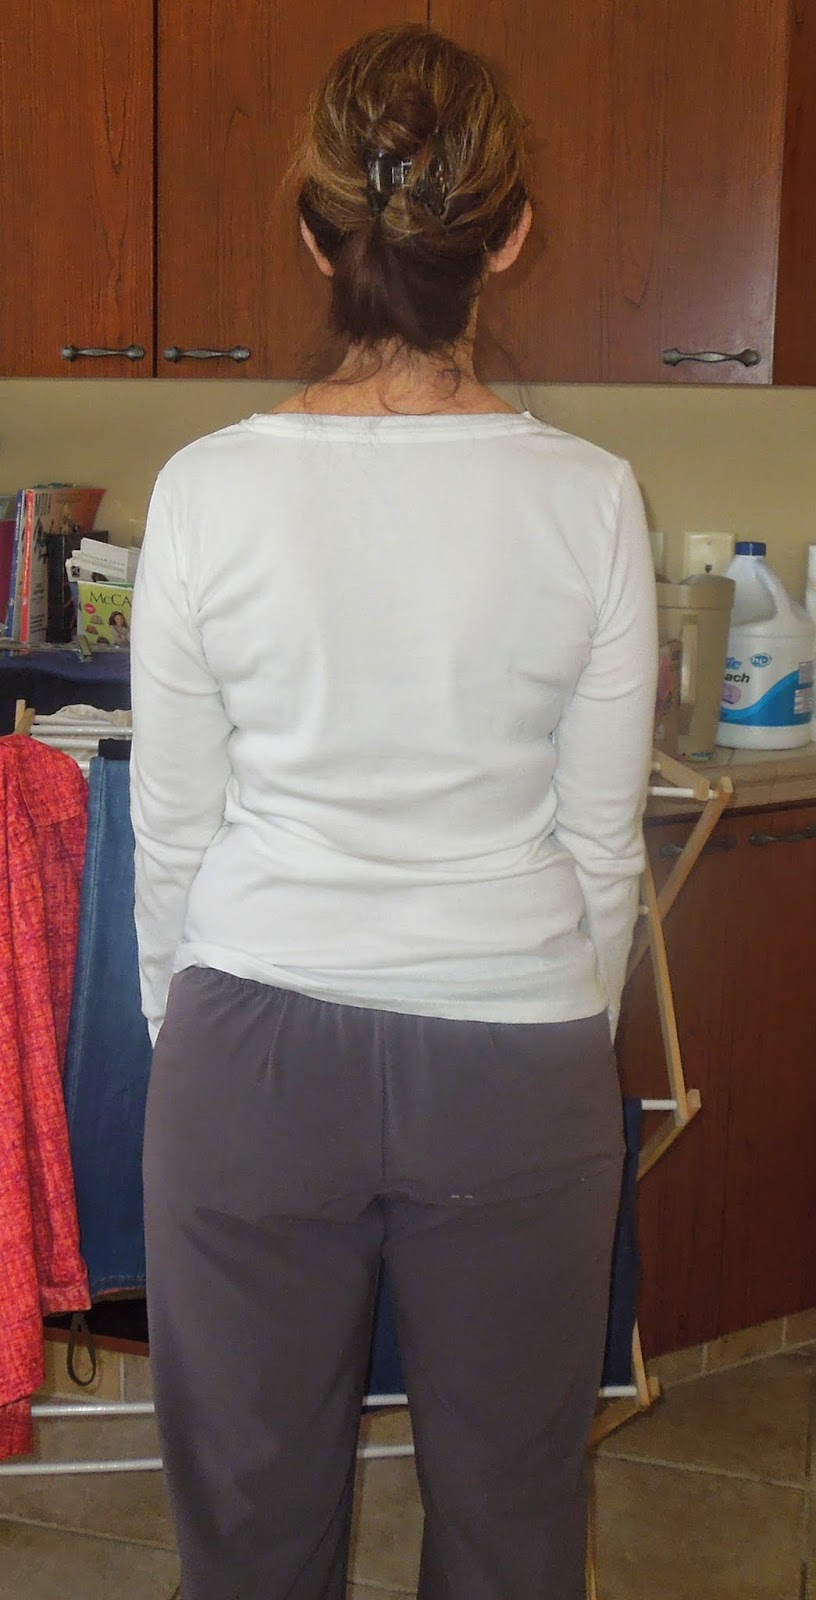
Loes Hinse Ascona Pant take 2
On this version, I made a size smaller, took a dart at the butt, and adjusted the waist line. Well, I think I should have added a LOT more to the back. Let's just say, these pants aren't going out in public if there's even the smallest chance that I may sit down!!
Other than that, the fit is much better.
This time I used 1.5" elastic using a waistband trick taught to me by Loes Hinse in her shop one day. Use 1.25 - 1.5" elastic and serge the end as usual. After turning, only stitch at the 1" line, leaving 1/2" free. This gives a flatter waist for those with a bigger difference between waist and hip. It works for me.
The problem with these pants is that once I decided to use wider elastic and take a 1/2" dart at the CB, this lowered the waist too much and I did not compensate for it. I'll have to donate these to a lady plumber! They say the third time is a charm, so I hope so! I like using the 1.5" elastic as opposed to the 1" elastic. And a word about doing the elastic. I love Loes's way of serging the elastic to the waistband, turning, and stitiching. The PROBLEM with doing it this way is that you have no way to adjust the waist band after you try it on!! Also, depending on your elastic, serging the end may stretch the elastic to a bigger size that does not retract!! I DO have a solution.
- First, try the elastic on at the height you want to wear the pants. Pin it with a safety pin. Leave it on
- Put the pants on and and pull them up under the elastic and then fold over so that the waist edge of the pants now meets the bottom edge of the elastic. Check the fit.
- Change your serger to a longer stitch length. I have an old serger, so I used the longest stitch length I could get. This helps prevent the elastic from stretching out on the stitched edge.
- Do NOT use non-roll elastic. This seems to stretch out the worst. Use a good quality elastic. I buy mine from Peggy Sagers. You have to buy a lot, but the great thing is that you can cut it to any width you like.
- Turn your waist over and stitch as per pattern directions or as above. If you have not much difference between waist and hip, then use the directions in the pattern. If you have bigger hips and a smaller waist, you may want to try the method I described above.
Posted by Nancy Winningham at 6:03 PM 1 comments
Labels: Ascona, Loes Hinse, pants
Friday, November 28, 2014
Loes Hinse Ascona Pant take 1
I got this pattern over a month ago, and have been really wanting to make it, but life keeps getting in the way. Well, I finally got the time and got up the nerve to cut into some RPL that I've had for a long time. I didn't really have anything to muslin these pants, so I had to just give it a shot.
- I went by pattern measurements and decided to cut a medium, which is a 40" hip. I made it as is with no changes. Blech!
- This came out TOO BIG. Well, I'm not sure if everything is too big, but it is supposed to b e a lowered waist and it came all the way to mine. Also, the waist was as big as the hips (even with the tiny darts in the back) so there were major gathers at the waist. I really didn't want a pant that came to my waist, so I cut off the whole waistband, which lowered the waist by a little more than 2" I've made that adjustment on my pattern, plus will take an additional 1" off the front
- Even with this change, there is still the problem of major baggy butt.
- So, remembering all of the Peggy Sager's webcasts on pants, I took a dart across the seat, really thinking this would NOT help, but being the obedient seamstress that I am, I decided to try it anyway. Well, as you can see in this picture, the side on the right, which I pinned, is much better than the left. Now I've made this adjustment on the pattern as well.
- The pants still seem to big in the legs (and I've got big legs!) I was really expecting them to be much narrower at the hem. I've traced the smaller size onto my pattern, but not sure if I want to cut it yet. I still have enough of this fabric left to make another pair, so I don't really have anything to lose. The pattern said it would take 1-7/8 yards of 60", but my fabric was only 58" and I was able to squeeze it into 1.25 yards! Now that's what I like!
Posted by Nancy Winningham at 3:46 PM 0 comments
Thursday, October 16, 2014
Mei Mei and cupcake dress
I've been working on a crochet project called Mei Mei from Doris Chan's Everyday Crochet. I love pretty much everything in this book. Even though the book is older and the styling may look a little old fashioned on some, the styles all have good bones. I have been looking for a little shrug pattern. This turned out pretty quickly once I figured out what I was doing. I saw that one Raveler completed this little shrug in 3 hours! It was more like 3 evenings for me. :-)
Today I'm going into town to buy a couple of shank buttons to make a closure for it. In the picture below I am just using a shawl stick.
Sunday is the little granddaughter's birthday. She will be 3! I made her a birthday outfit, but the top came out too long. I cut just about an inch off of it after I took pictures, so I think it will be a little better. I didn't want to cut off too much since I had added the pockets and just estimated where to put them based on the length I had made.
To make the cupcakes I drew a cupcake and then traced the top and bottom separately onto heat and bond. After I adhered it to the dress pieces, I stitched lines for the cupcake liner and zigzagged around the outline of the cupcake. I used a permanent marker to draw lines on the center cupcake.
After I took this picture, I removed the basting you can see around the neckline, and topstitched the yoke which also stitched down the inside of the seam where the yoke and skirt join.
Posted by Nancy Winningham at 8:39 AM 2 comments
Sunday, August 03, 2014
Simplify Your Life
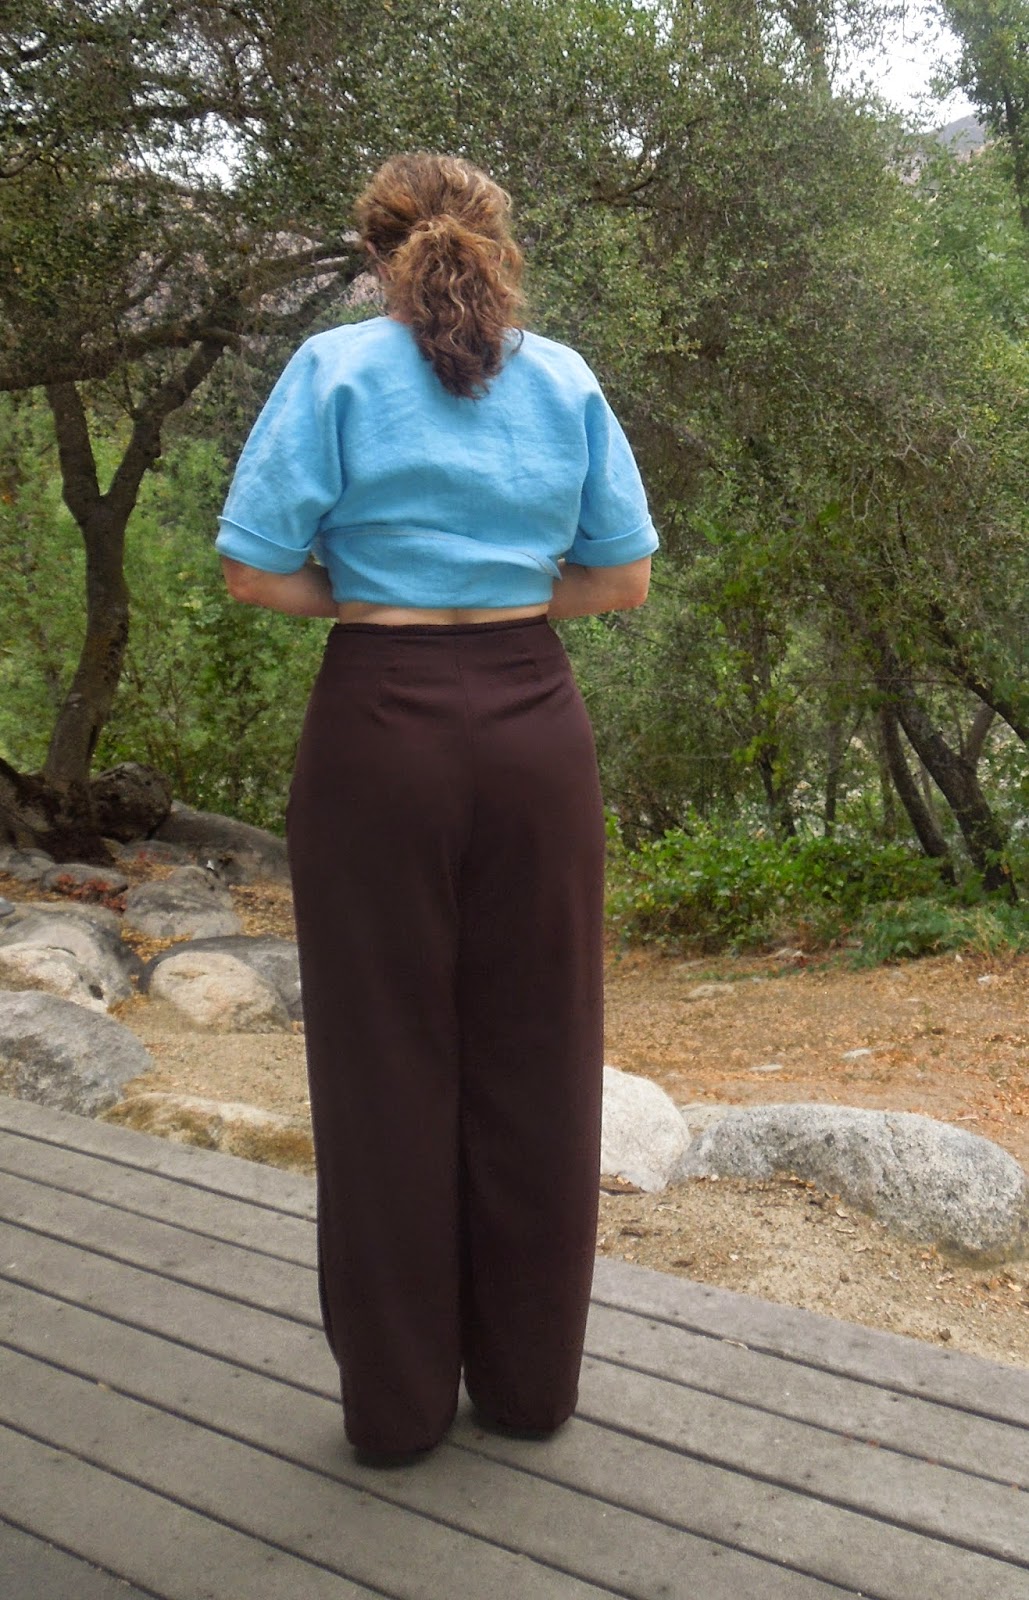
This is the Simplify Your Life pattern from Cutting Line Designs. I am always attracted to and inspired by CLD and Sewing Workshop patterns. I love both versions of this top. On the envelope. For some reason, I always feel like I should look more like the drawing or model when I make the garment, but I never do. I made view A, which is the button front. I used a turquoise linen from my favorite linen source Fabrics Store. - cut a size small according to my measurements.
- Did a full bust adjustment as shown by Louise Cutting on Threads Insider. I did a 1.5" length adjustment only. The width was already OK.
- I shortened the sleeves by 1"
- I raised the armhole by about 3/4 inch and took in the waist 1/2" at each seam for a total of 2" reduction.
- I made a split hem. It was pulling at my hips and forcing the pleat in the front to pull to the side.
- Narrow the shoulder about 1/2"
- Shorten the sleeve even further
- move the top button up just about 1/2 further so that it doesn't pull at the top
The first time I make a pattern, and especially if it is the first time from a new (to me) pattern company, I like to make it exactly as the directions say. I often learn new techniques this way. For some reason, I really had trouble understanding how to line up the pleat on the front of this thing. I could have done it my way, but I was trying to follow the thinking of the designer. I just couldn't get it. I finally asked SewTerri from Artisan's Square for help. I knew she had made this particular top before and she has made many CLD patterns. She generously sent me pix of the inside of one of hers. I could see what mine was supposed to look like and was able to fix it. I'm still not sure of where I messed up, so I guess I'll have to make it again if for no other reason but to find out what I did wrong!!
The pants were easy and went together really fast, so I may work on taking them in to be more fitted from the hip to the knee and see what happens there.
What do you think?
Posted by Nancy Winningham at 3:04 PM 2 comments
Labels: CLD, Cutting Line Designs, Simplify Your Life, SYL