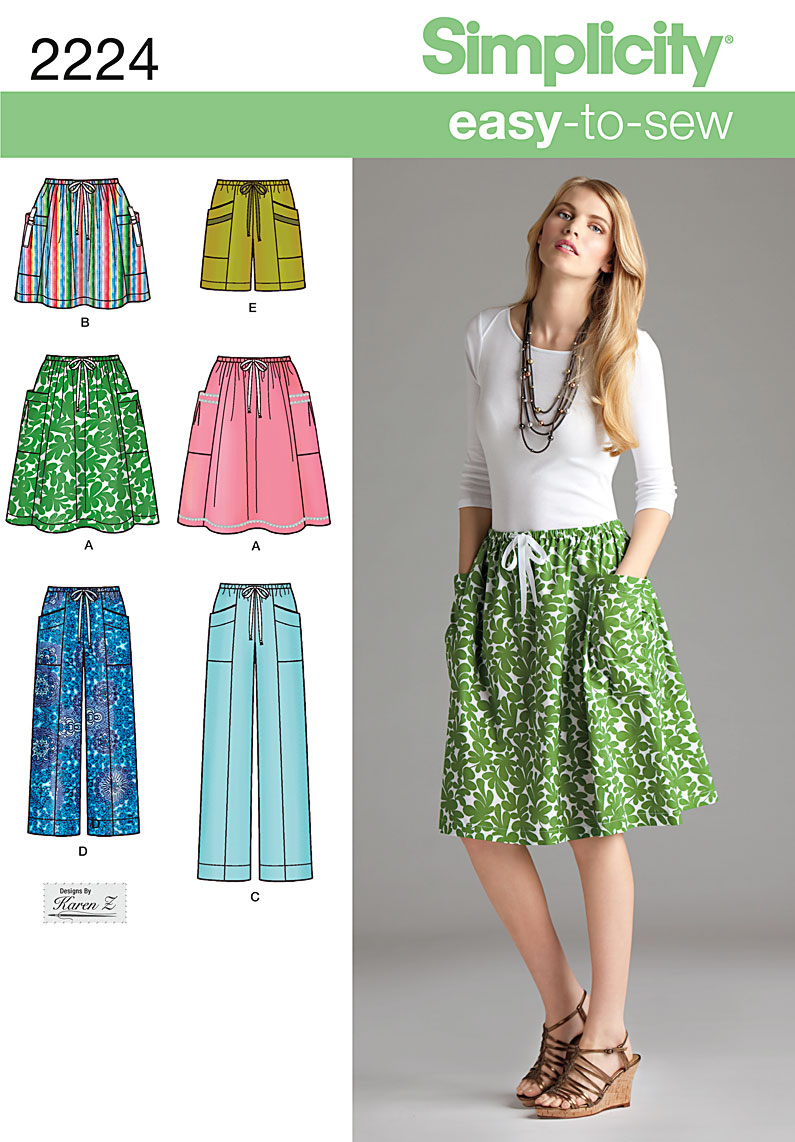
Here is what I am planning for swap. In my last post I put that I was making a blue yoga skirt. I forgot that I had already changed that to a gray striped ruffled skirt as seen in the Sandra Betzina pattern on the left.
So, in the first pattern, I have the blouse already cut out - view on the left. Dress in the DKNY pattern - finished (pix below) Pants, have a muslin pair cut and skirt will be a gray stripe.
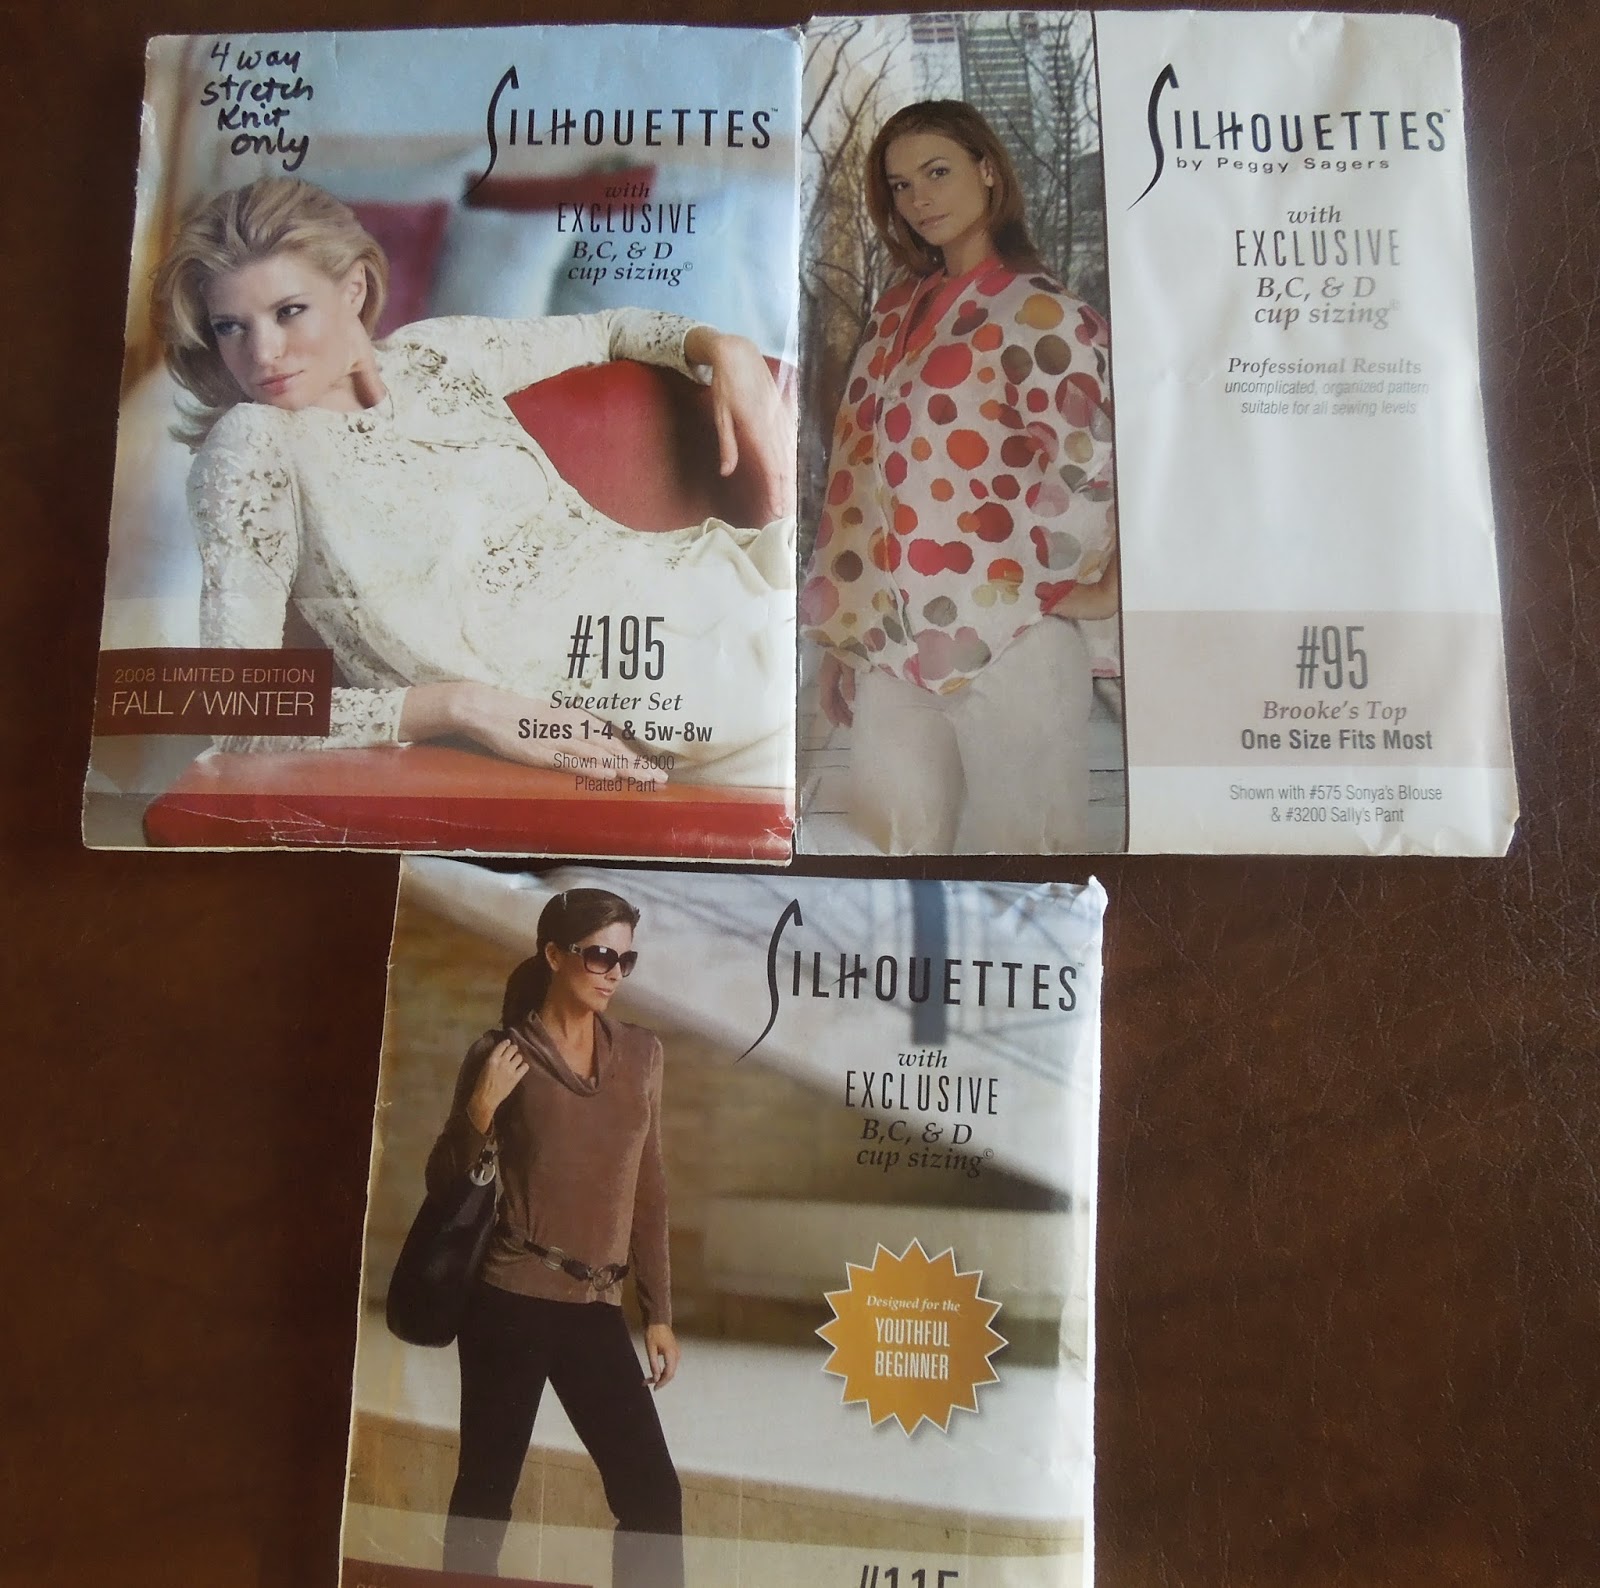
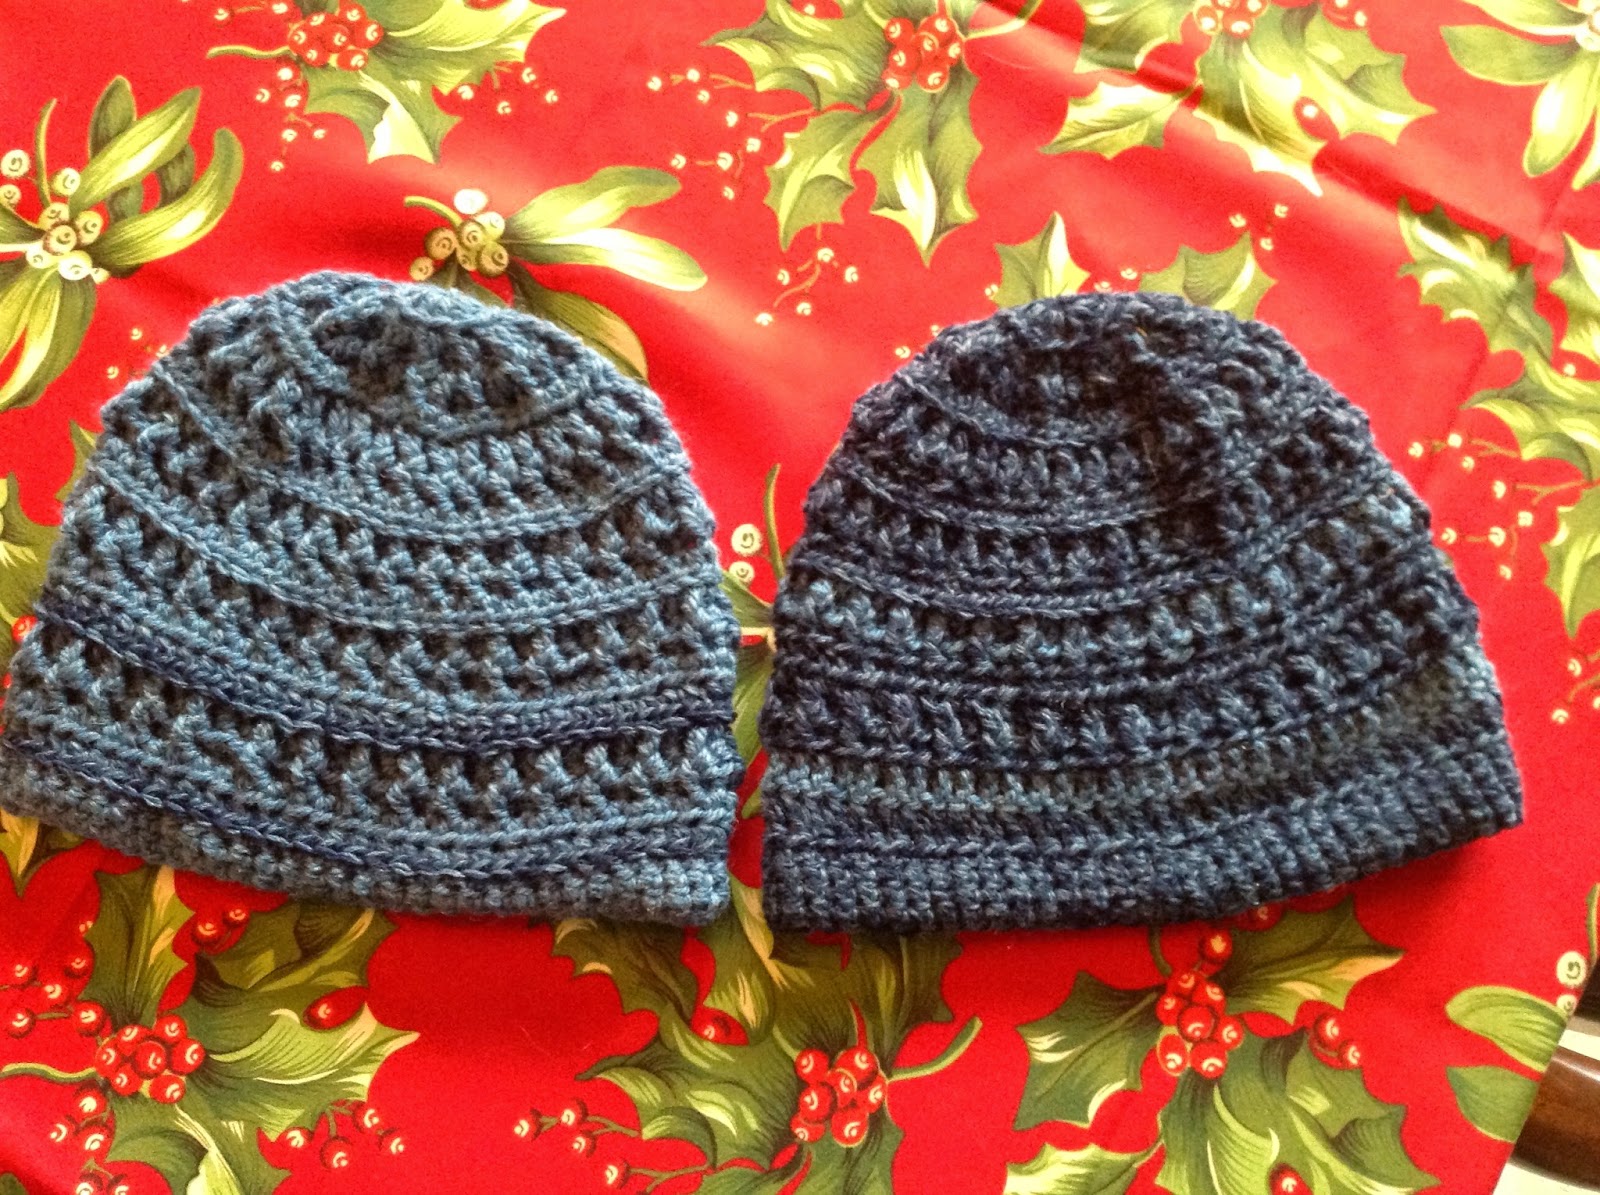
The Silhouette patterns twin set will be a gray and white fine sweater knit - both pieces. The #95 is shown in a chiffon on the pattern envelope, but I've seen in in a heavier boucle type fabric, which is what I'm doing. The cowl top will be in the blue and gray sweater knit that I've had waiting to make this pattern for a couple of years now!
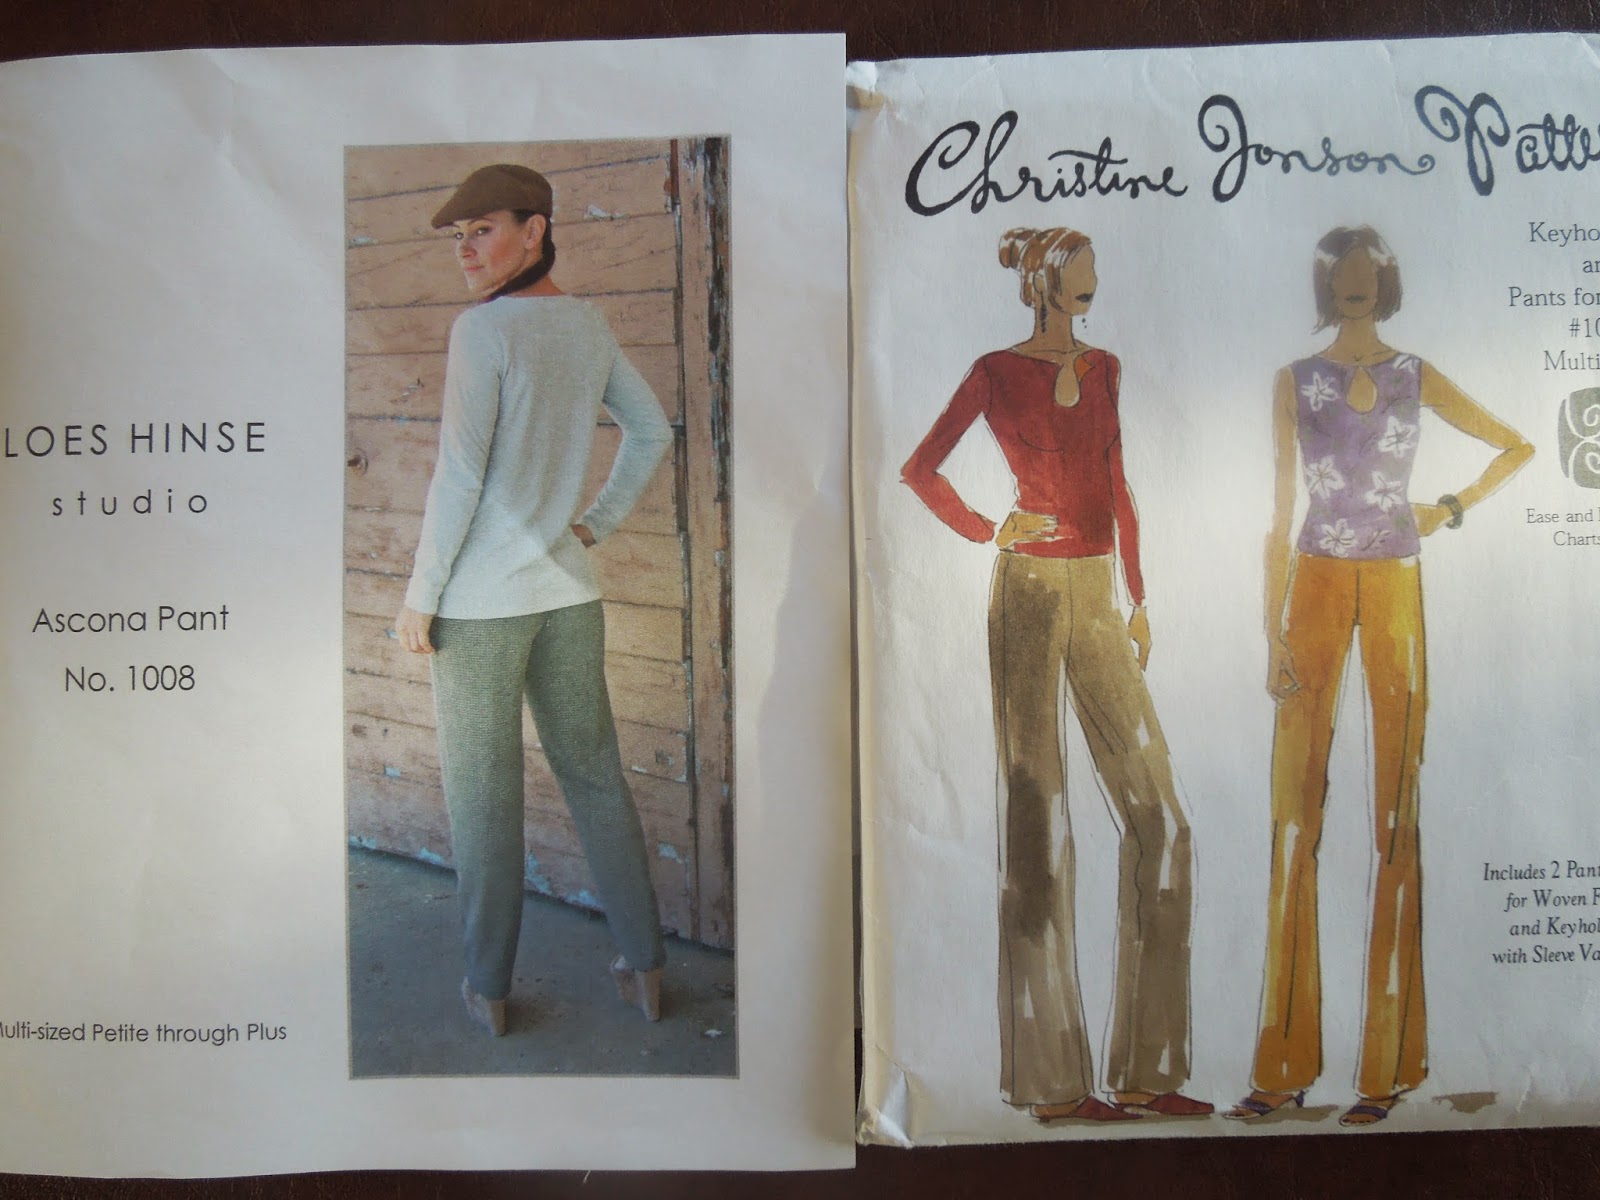
The LH Ascona pant I've already made in a gray RPL. I like the shape of this pattern, but have had a bit of a time getting the fit right. I really want to try it again, but probably after I finish all the other swap items. The CJP keyhole top is reversible in the sleeveless version. I may also use it for a long sleeve tee without the keyhole. Of course, I'll probably get one or two items made and then change my mind again! Oh well. I'm hoping to get some pieces made up so that I can have things that go together. That's why I'm sticking to a boring Navy, Gray and Cream pallet here.
Here are some pix about the finished DKNY dress:
 I am pretty happy with how this dress came out. The fit is good, and it is one of the simplest dresses I've made. The back neckline is finished before the front and back are sewn together. There is just a strip of fabric that is used for a facing, turned under, and stitched. The front neckline is left unfinished as it is just turned in to the inside. You could finish it, but since knits don't ravel, there is really no point. However, I like how all the other seams are double stitched.

You can see the raw edge on the front facing here on the left.
 This is the waist and center back seam. There are no side seams, except from the waist to the under arm.
Even the hem and the sleeves are double top stitched.

I really like how there are no side seams on the skirt portion. On a large print like this (or even in a solid color) it gives a nice, clean unbroken line.
I don't know why I've put off making this dress. It really turned out well and I'm happy with the fabric that I chose. I don't normally pick large scale prints like this, but this one just called out to me!
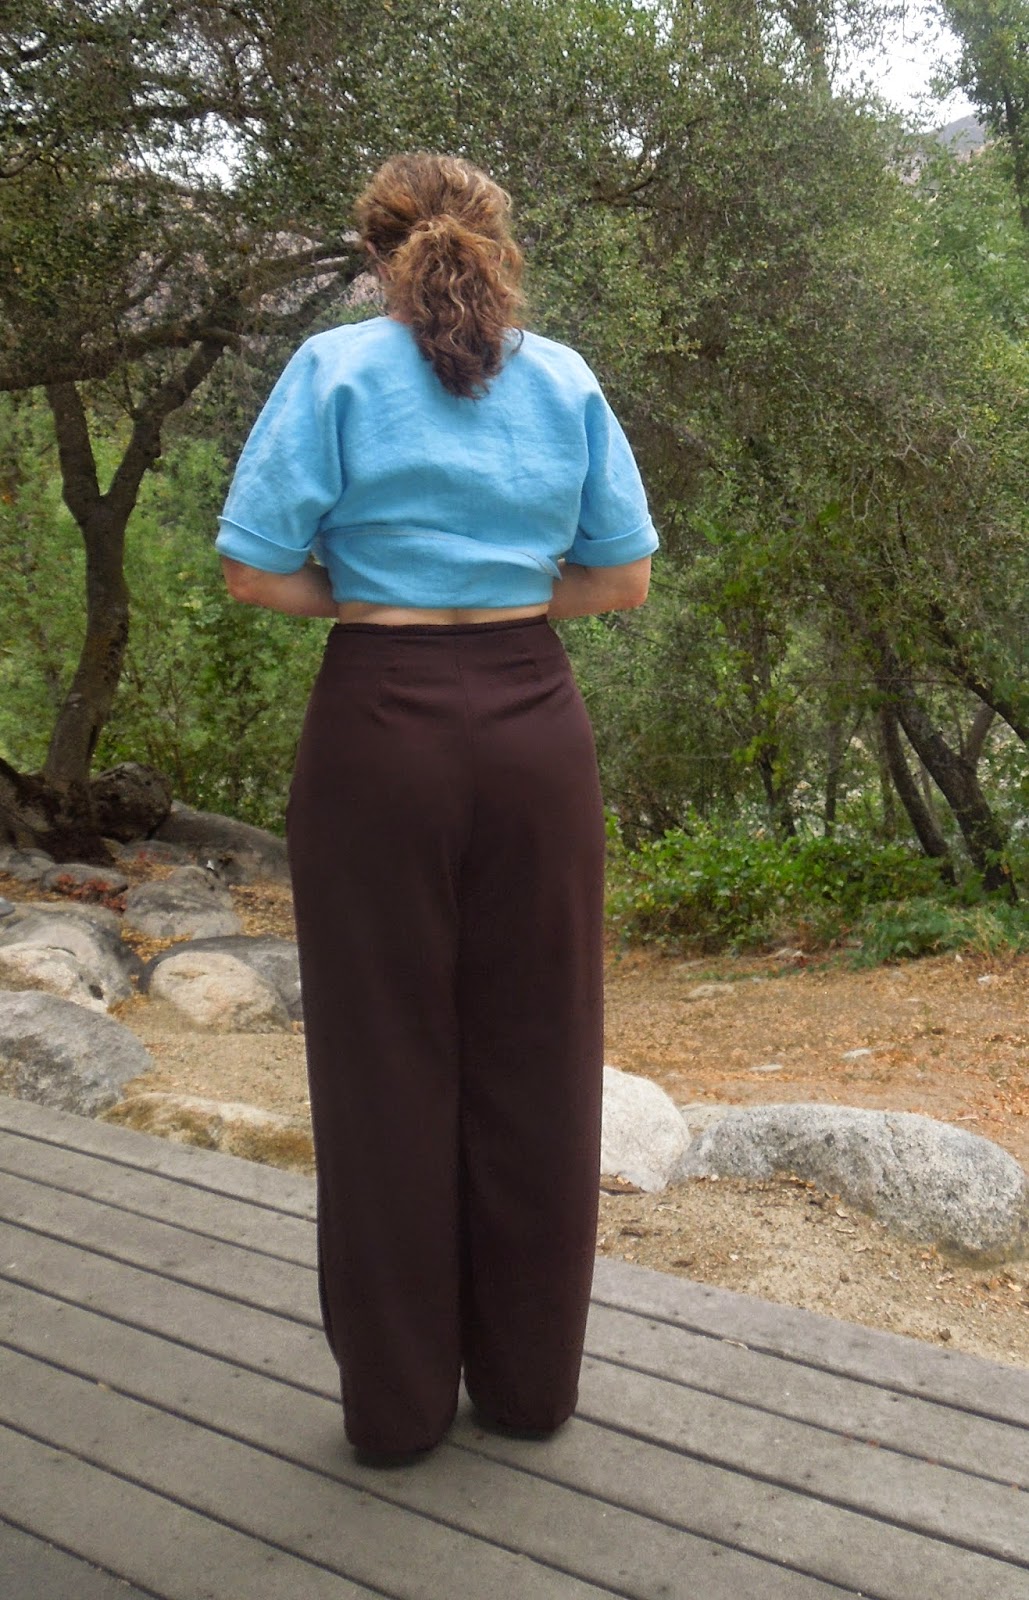
Here's the back view:

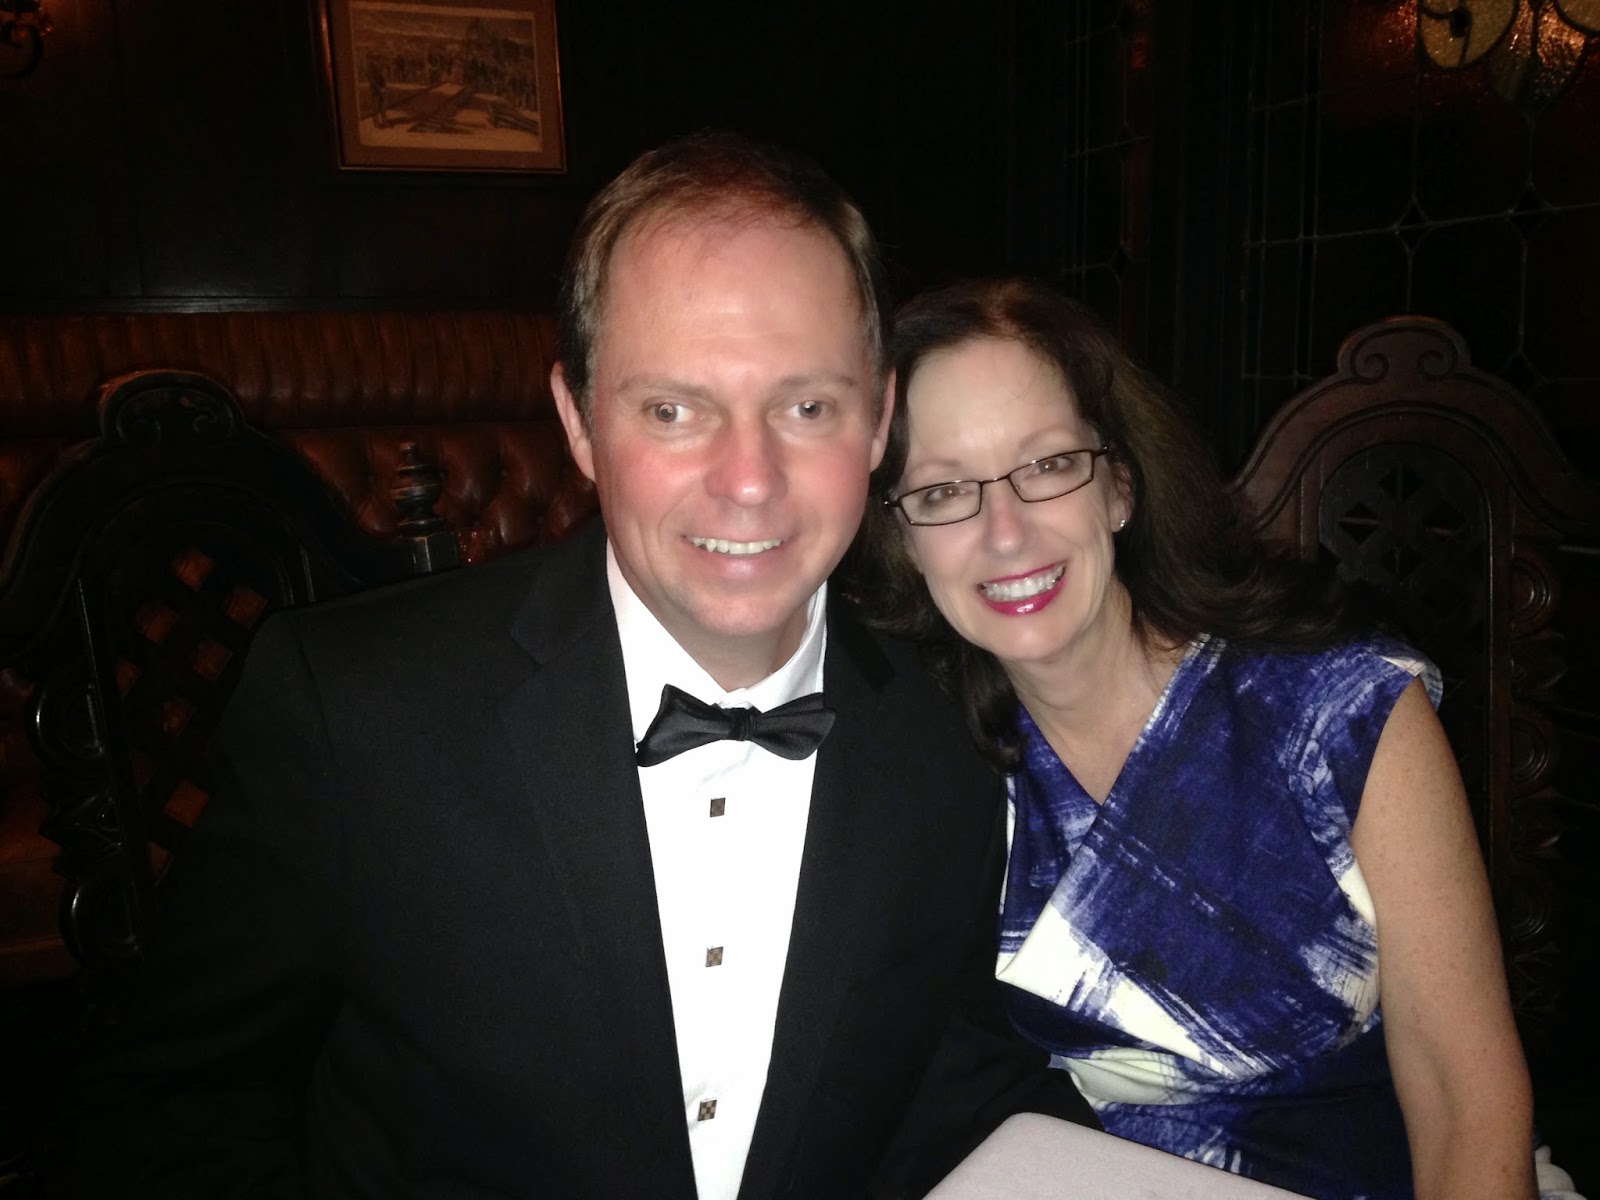
We had a great time going out to dinner tonight, and although it was a splurge for the beginning of the year, it was well worth it. Now, it will be back to good eating and smaller portions!!

 We acted like tourists and had the waitress take our picture! It was so fun. Unfortunately, my hair was having a mind of its own!