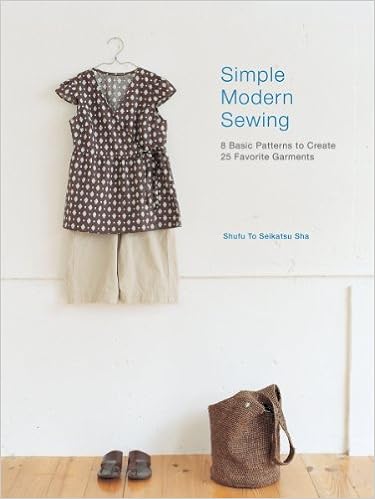
A couple of years ago, I bought the book, Simple Modern Sewing. I think it was the first Japanese sewing book that I got. I love the designs, but I especially love the simple, concise directions. The first (and only so far) thing I made out of this book was a pair of cropped pants. Well, I've worn those so much that they finally gave out - the fabric did anyway.
Fast forward to this week, my friend Maureen came over and we did a little sewing. And what did we make? Cropped pants of course! The last pair I made were from linen and I loved them. She made hers from linen, and yes, she is loving them.
This time, I made mine from organic cotton that I happened to find a JoAnns. I love this fabric and want to go back and see if they have any more. I think I saw it on their website once. It is soft and has a nice drape. Besides that, I love the color!
According to my hip measurement, I should have made a large in these. I actually intended to make a medium this time, but was not paying attention well enough when I was cutting and cut the small again. The pattern has a LOT of ease. It calls for 1/2" seams, so I made my side seam and inseams 1/4" since I neglected to cut the right size (can't talk and cut at the same time,)
I'm totally fine with the way they fit. I wore them all day yesterday and I didn't have to tug at them or pull them up. I may make another pair in a larger size, just so that I can see how I like them. I think I want to make these in the long version also. They are just so comfortable.
The back pocket piece came in the pattern, but next time I think I might make it a bit smaller. In fact, Maureen and I were talking about doing another pair with inseam pockets instead. I HAVE to have my pockets you know!
Wednesday, August 24, 2016
Remake - cropped pants
Posted by Nancy Winningham at 8:17 AM 3 comments
Labels: Cropped pants, Japanese sewing books, organic cotton, Simple Modern Sewing
Thursday, August 18, 2016
Merchant and Mills Saltmarsh skirt
A couple of months ago, I started learning about Merchant and Mills. I had seen several of their patterns on a variety of threads and was especially intrigued by this dress made by Ruth. That post is what got me started looking at these patterns. I ordered the 'Workbook" and love the vibe of the whole thing.

The patterns are printed on both sides of the sheets, but they are not overlaid on top of each other and they are easy to read. Also, the sheets are not so huge that they are unwieldy. They are about 1/2 the size of a BurdaStyle pattern sheet. Much easier to use
Here are the patterns that are included.
When I saw the Saltmarsh Skirt, I knew that would be the first thing that I made. I even had some great linen on hand to do it! The color of mine is called Blue Bonnet from Fabrics-store.comAccording to my measurements (which you have to convert from metric if you are used to US standard) I needed to cut the size 16, which I did. Next time, I will cut it down to the 14. There is ample room. Also, next time I will add 2" to the length. I have short legs, and even worn below my waist, I could not do the 1.25" hem as suggested. I just serged the edge, turned it under and stitched to get it as long as possible. It is the perfect length for me now with flat sandals. The skirt looks fairly straight in the pictures, but it is actually more of an A-line.
I love the pockets on the sides and I like the way they were done.
This skirt has a separate waistband. They have you thread the tie through the grommets after the waist band is attached, but I didn't do it like that. I sewed the front of the waistband and then placed the tie against the fold, pinning it in place so I didn't accidentally stitch through it. Before pinning it, I used a safety pin to bring the ends through the grommets. My bodkin would not fit. You could also use buttonholes instead of grommets, but I really like the way they look. I used the 1/4" grommets. I really wanted brass, but they only come in silver or gold colors.
The waistband is then turned to the inside and you stitch in the ditch. I recently bought a new foot for machine called a "fabric-joining foot" It's designed for stitching (either zigzag or faggoting) two fabrics that are butted up to one another. The little blade on this foot makes it super easy to stay in that ditch for the stitching.The pictures I took of this skirt were after wearing it all day, in and out of the car multiple times for errands, in 106 degree heat! I think it held up better than I did! And yes, I love those pockets :-)
I love this skirt and actually had a stranger come up to me in the parking lot to tell me how much she liked my outfit. (This made me feel especially good, because she was a lot younger than me and stylish looking.) Even the nurse at my doctor's appointment today was asking me all about it. We got on a big discussion about linen and I told her that my favorite place to buy linen is at fabrics_store.com. I definitely think I will have to make another one of these!
Posted by Nancy Winningham at 9:42 AM 1 comments
Labels: linen. summer sewing, Merchant & Mills, Saltmarsh skirt, workbook
Decorative Stitching on a pattern piece.
Good morning! (Well, at least it is morning for me as I begin this post.)
Yesterday, I forgot to add how I did the stitching on the neckline. I don't have pictures, but I can lay it out for you.
- First, I cut out all the pieces except the two neck bindings.
- I traced the neckbindings on the fabric (I had already cut out the two facing pieces.) and then interfaced the area that would cover the bindings. I used a water soluble marker to trace them. I did this because I did not know if the stitching would make the piece get smaller.
- Next, I did a couple of samples on smaller pieces of fabric to see how I wanted to get the design to lay out. i bought a rayon thread that was close to the color of the fabric. I wanted to bring out the yellow, so it is a little bit more yellow than ivory. I think the tone on tone look is a little more elegant than contrasting stitching.
- The fabric still seemed a little wimpy for all that stitching, so I used Solvy water soluble stabilizer on the underside of the fabric. I used 505 temporary adhesive spray to keep the solvy in place.
- After I finished all the stitching, I checked the size against the pattern pieces and cut them out. They did not change in size - but I would always do it this way just in case!
- I found that the added advantage of leaving the pieces uncut while stitching is that it is much easier to turn and manipulate the fabric under the presser foot. I messed one up and tried it on a cut out piece and it was a nightmare!
- Finally, I rinsed out the cut pieces by hand and let them dry before sewing them in. This is unnecessary, but I don't like the feeling of the stiff stabilizer when I'm working with it.
Posted by Nancy Winningham at 7:53 AM 0 comments
Wednesday, August 17, 2016
S1253 - Earthy Rich Parchment
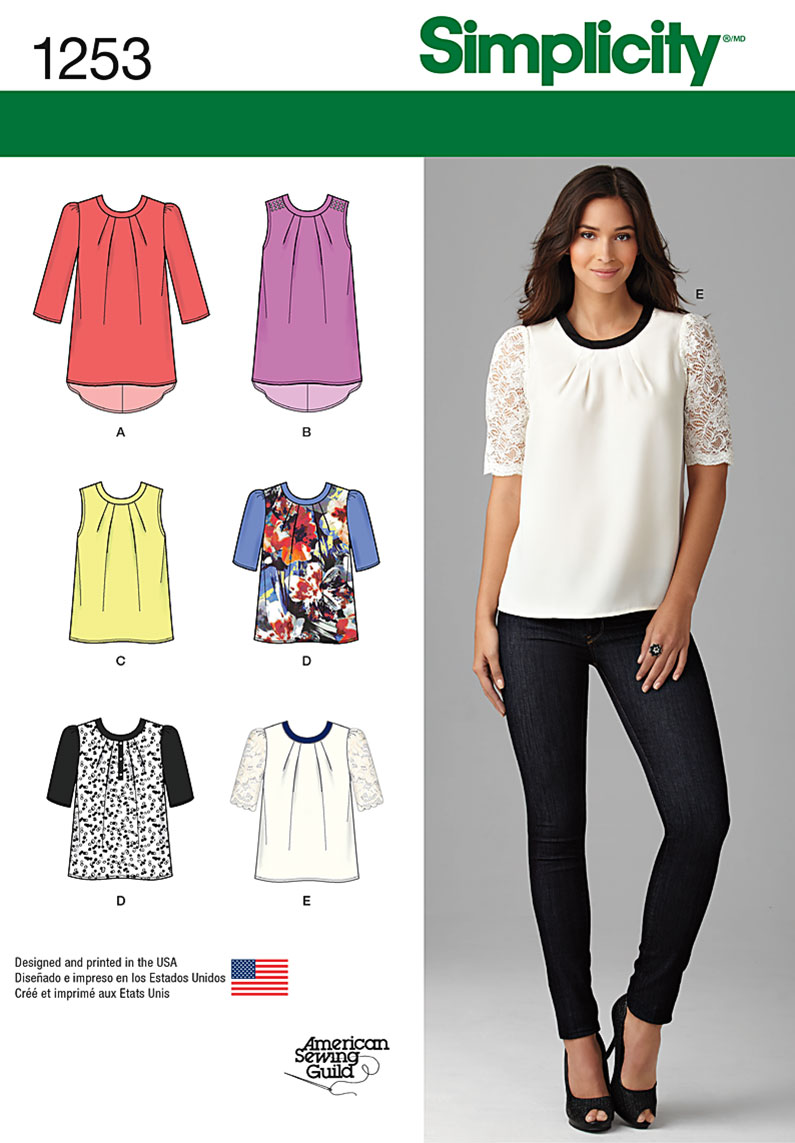
I wanted to do something a little extra for the neckline area, so I used the decorative stitching on my machine and some rayon thread to give some texture to the neckline. I like how it turned out. I think that was the most time consuming part of the whole top!
The rest went together really easily. I did make a few alterations. One time a few years ago I talked with Loes Hinse in her shop in Carmel. She suggested that for my figure, instead of doing a FBA or adding darts to an undarted top, that I add to the top of the shoulders in the front about 1/2" and to just make sure I have enough circumference across the bust. So, this is what I did. I added to the top of the shoulders in the front only and did nothing to the back. I extended the armscye seam out to the size I needed for my bust. I usually have to make the shoulders about 2 sizes smaller than my bust size. This is a pretty forgiving pattern and the fabric is pretty flowy, so it definitely worked for this. It will be interesting to see how well it works when I make one of the views that has a straight hem. Another advantage of this adjustment for me is that it lowers the neckline. I have a forward tilting neck, so I usually try to lower any neckline that is high. This one sits perfectly on my now.
I also raised the front of this blouse a bit. It wasn't hitting me in the right place, so I raised the front only.
I love this top, and the first time I wore it, DH and I were going out of town for the day. On the way to his meeting, I managed to dribble coffee down the front of my top. Arghh. I got most of that out, but then we went to teppanyaki for dinner and somehow I got sauce on the front of my top! No wonder I rarely where light colors!! Thank goodness for shout and a little laundry detergent. It all came out in the wash - phew!
The color of this top fits into my new color plan. I am only supposed to wear my "whites" on one half of the body at a time, so a top in this color is perfect. As you can see, this is about as light as I should go in the white category. I am not a high-contrast person, so I would not wear this with a dark skirt or pants. Something midrange is a little better for me. The pants I am wearing in these pictures are a little light, but they are all I have right now that work. I'm going to be busy getting a lot of sewing done I hope!
Because of the contrast in the pictures, the top looks almost white. However, in real life, it is almost exactly the color of the top swatch on the "conservative" page. It's just a touch more yellow.
Posted by Nancy Winningham at 6:23 PM 6 comments
Labels: Earthy Rich, Simplicity 1253, summer sewing
Saturday, July 30, 2016
Color and Style Analysis
After we finished with all of the colors, he taped them onto cardstock pages grouped by categories such as Powerful, Playful, Reserved, Romantic, Sophisticated, and so on. Each color group was in an order so that I would know "Go no more yellow than this or more blue than that. No darker that this or lighter than that. This is the edge of how bright you should go" Each page is set up like that. As we were going along he note how different colors made me show up more and which were too pale or bright. He also kept expressing that he was a little surprised at how warm I actually was. So are you ready?? I am....
75% Earthy Rich (most of us know as Autumn) and 25% Striking Contrast (AKA Winter.) This means that I can wear mostly warm colors either muted or jewel toned (ie some of the plums, teals, and coppers) but I can also wear full on black, but not black and white. He went over some color combining techniques for my individual coloring, and I was really glad to learn that I can wear ALL of the metals other than rose gold (too pink). He even went over what some of my best fabrics would be - Linen, silk noil, courderoy, velvet, crepe, some tweeds, herringbone. In other words, some texture, but for my stature, not lots of texture - or if there is a lot of texture to a fabric, just in small amounts. He also went over what shapes for necklines and accessories would suit my coloring best.
It is going to be fun learning to use and mix the colors. I was surprised that my lightest white/ ivory was darker than I had expected.
The next part of the consultation was the style essences. Of course, we had been chatting all along, so he was getting to know some things about me. Then, he had me stand a few feet away from him so he could check out my body shape and proportions. (no measuring) I'm not sure how he figured this part out, but he did some kind of mathematical calculations and determined my style essences. This rung so true for me and let me know why sometimes I think my style is all over the place. Although people are rarely, if ever, 100% all one essence, I was kind of all over the place. I am 10% natural, 10% high spirited, 10% dramatic, 30% romantic, and 40% classic. They two types of which I am zero, I had already ruled out myself. Those were Youthful and Ethereal. He went over what those things meant and how they would fit into my color pallette and wardrobe. He did go over what fashion shapes match these essences, but we did not go over which styles of clothing would look best on my body type. This was fine because I already know most of that from so many things I have read and personal experience. (for example, jewel necks make me look like my bustline is at my waist, straight skirts make me look wide all the way down, etc.) There are lots of good, inexpensive, easy to find resources for that kind of information.
All in all, I was very impressed with the whole process and couldn't believe the time went by so quickly. My appointment was at 1:00 and I didn't leave there until after 5:30!
Since it was about a 5 hour drive from my house to Oakland, I was so happy to have my friend Kathryn go with me. Of course, we made a fun road trip out of it! Even though Kathryn does not really sew, she was more than happy to go with me to Stone Mountain Daughters, one of my favorite fabric stores! I took my book into the store with me and it was really helpful to pick up colors. It was a beautiful day and they had all the doors open, so it was easy to take a bolt and my book over to the natural light and check out the colors. One thing I found was that I was picking out fabrics that were too bright. I stuck to my fabric swatches and picked what blended in color, depth and value with my palette. It's going to take me awhile to get my head wrapped around wearing some of these colors that I've never warn before. Some I have always been drawn to like the more jewel toned corals, teals, and greens. I have also always liked olive and Khaki green. The challenge for me will be the more muted tones. I could have easily spent megabucks in SMD, but I limited myself to just a couple things. Then I realized I needed thread. The remnant shelves were by the thread and I found a beautiful silk. Then, there was a beautiful (and expensive) fabric by the cutting counter that I just had to have, so I didn't do so well at controlling myself after all.
Now the "fun" will begin. I have massive amounts of fabrics that I will be getting rid of. This is good because I have too much and that makes choosing a lot harder. Also, knowing now what I know about my colors, I realize why I am not motivated to sew some of these fabrics. Some of these fabrics I can overdye, but some I will sell or give away. Any that I sell, I will use that money toward my next ministry trip to Uganda. I'll be keeping you posted on that.
Oh, another thing. I was supposed to get my hair cut and colored the day before my appointment with John, but I decided to postpone it until after my appointment. I'm glad I did, because he gave me some suggestions that would help particularly when I am wearing black or very dark colors. I have my appointment on Tuesday, so I'm excited to see how that works out.
Posted by Nancy Winningham at 6:13 PM 7 comments
Labels: Autumn, color analysis, Earthy Rich, PSC, Striking Contrast, Style Essence
Wednesday, July 27, 2016
Metropolitan Coffee Bag
I've had the fabric to make this bag for months, but just not got around to putting it together. Parts of it were a bear (why did I choose faux leather handles and trim) but I'm glad I had a great machine to handle the challenges.
I have made this Metropolitan Bag twice before and wore them both out. It has been my favorite purse of all that I've made, so it's time to make it again! (First version, which I still have, although it is too worn out to use now). Actually, I lost the pattern, and now it is out of print. I picked up a copy on ebay. It's a great pattern - IF you add pockets :-)
Using the faux leather was a challenge. I did a sample first and tried topstitching thread and regular thread. I decided the regular thread actually had more of the look that I wanted. When it came time to make the actual handles, I kept having skipped stitches. I tried changing from a universal needle to a microtex 80, but still kept having problems. I called Toni at Dublin Sewing Center, where I got my machine, and she was a great help. First, I lessened the pressure on my pressure foot and used a 3.5 size stitch. She suggested a jeans 90 needle. (BTW, she said that the leather needle punches a different shaped hole and would not be the best for faux leather) I think I have every size and type of needle except THAT one! I wasn't willing to drive the 45 minutes to JoAnns to get one. Then I remembered that I had a topstitching needle on my machine when I made the sample. Once I changed back to that, it worked fine, but you can bet I will be buying some jeans needles the next time I am in town! The next thing was, how was I going to attach the handles. If I would have done it the way the pattern suggests, I would have had to have sewn through 8 layers of faux leather in addition to 2 layers of fabric and 2 layers of fleece. I ended up sewing the handles onto the band and then making little squares to sew over the raw ends.
sewing machine has a feature of directional sewing where I can not only sew forward and backward, I can sew left and right as well as on the diagonal. This feature was absolutely the best for adding these handles. I had the bag over the free arm and it was so stiff, there was no way I could have turned it to stitch the square on the handles or the handle covers. I actually have this feature on my other machine, but never used it. Now that I see how valuable it is, I will be using it again.
Another issue I had was that I could not center the design on the fabric. I would have had to buy double the main fabric in order to do it. I figured that I would be the only one who would be noticing (I hope), so I went with it the best I could. Unfortunately, this makes everything look off center, but usually my bag is moving around as much as I am,so I think it will be OK.
I'm going to the Bay Area tomorrow with a friend and I'm so glad I finished this purse to take on the trip!
Posted by Nancy Winningham at 3:51 PM 1 comments
Labels: Babylock Aria, Indygo Junction, Metropolitan Bag
Tuesday, July 19, 2016
Finally Decided!
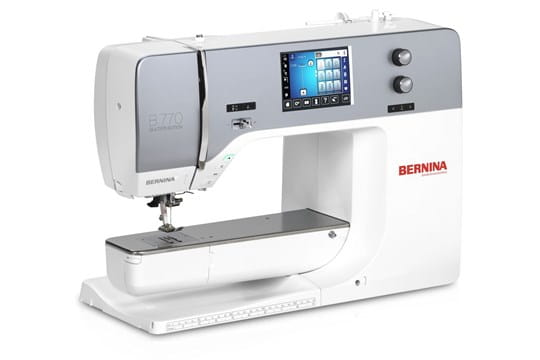
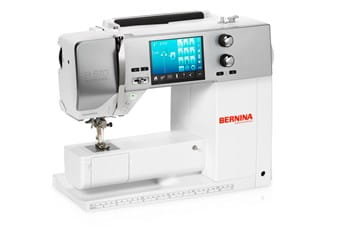
Today I decided to go to the sewing machine dealer in the town near where DH and I are staying. The cool thing is that they sell multiple brands including Babylock, Pfaff, Bernina, and Viking. After spending a little time talking to the salesperson, who was extremely helpful, we spent a lot of time looking at the Bernina 530 and 560. Both are beautiful machines, but I liked the 560 better. One feature that I really liked about the Bernina is the fact that you can adjust the pressure foot pressure to quite a few different settings. I know on my Ellageo, there are only 4. I also liked the fact that you can purchase separate needle plates for different widths. Most machines have the option of a single hole plate and the max width plate, but the Bernina has another option in between. With the narrower hole, your fabric will turn and behave better. Also, that 9mm stitch width is definitely seductive. I love how powerful the motor is too. BUT, I still did not fall in love with this machine. I liked it. I liked it a lot, but not sold.
Next I tried out the Pfaff. I was disappointed that they did not carry the Performance 5.0, but they don't carry it because they feel the screens are more cumbersome to use than some of the other machines. One of the things I have never liked about the Pfaff and some of the other brands are the push buttons. It's just an aesthetic thing, but still I don't like it. The Quilt Expression 4.2 was on my list to try, and they had a good price on it. However, I soon as I started sewing with it, I was disappointed. The machine is very noisy (compared to what I have now) I really must LOVE whatever machine I buy, and I couldn't believe I did not love this machine either. I have wanted to have a Pfaff for as long as I can remember, yet, I did not feel compelled to buy this machine. Sigh.
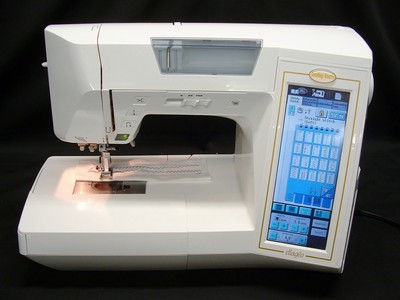
Toni (the sales lady) was very patient with me and asked me more questions about what I was liking and not liking. She took me over to see the Babylock Symphony. Of course, I already have a Babylock, and the Ellageo has a bigger screen than the Symphony. I do like that stadium lighting though. Well, guess what I ended up getting?
The Babylock Aria has all the features that I want and more. I love how quietly it sews and I am comfortable with the interface. I felt like the buttonholes and threading were complicated on the Bernina, although I'm sure I would learn it quickly enough. The Babylock just feels like home to me.
Also, Toni told me (after I had decided) that the Babylocks have far less issues and repairs than the Berninas or other brands they carry. Also, there is nothing extra that I need to buy, since I already have all the extra feet I needd (well, I DID buy a ruffler. I have been wanting one for a long time and they had all their feet 20% off) They matched my local dealers sale price and threw in the extended warranty, which is about $400. The only thing I want to get is a sew steady table. They are far less expensive than the optional table that the Babylock has, and I like that they are clear.
I'm really happy with my experience at Dublin Sewing Center. If I need anything, they will just drop it in the mail to me. I'm not too worried about getting "free classes" because I already know how to use most of the features of this machine. Now, the next time I am in the area I wouldn't mind going in and learning some sewing tips from someone who does garment sewing, like the lady who helped me. I know our local Babylock dealer has a quilting-only point of view.
I can hardly wait to get home and start checking out all the features of my new machine!
Posted by Nancy Winningham at 4:46 PM 4 comments
Labels: Aria, Babylock, Bernina, Bernina 560, Pfaff, sewing machine
Saturday, July 16, 2016
Fire and Rain - Shopping for Sewing Machines - The Great Debate
Since Pfaff was closed, we decided to take a drive to Fresno and look at the Berninas. I’ve always known that Berninas are great machines and that everyone who owns them loves them. I wanted to look at the 740, but the only 7 series they had were the 770 and 780. There were a lot of things I liked about that machine, but it felt too huge for me. I don’t know if it was the table height or what, but I just didn’t feel comfortable sewing on the machine. Also, the feet seemed huge and wide. The sales lady was very friendly and helpful, but she was new in the store and had more recently been working for Pfaff and Babylock. This was kind of cool because she gave me her opinion of which machines were better at which things. (Which, she probably shouldn’t have done, but was helpful to me.) Also, because she was new to Bernina, she couldn’t answer all of my questions to my satisfaction (like explaining the BMR - although I finally figured it out.) I was really expecting to LOVE the Bernina. I wanted to LOVE the Bernina. This is probably my one and only chance to GET a Bernina. But I didn’t love it.
- The lighting is fabulous! That is one thing my poor old machine does not have - good lighting.
- All those stitches! Baby locks are known for their decorative stitches, and this machine does not disappoint.
- The large LED display. My current machine has this and I really like it.
- This machine comes with 13 feet. Also, all of the feet I currently own will work with it.
- OK, this machine is almost as huge as the Bernina, but it just felt like home when I sewed with it.
- All of the things I love about my current machine are here plus more.
- Babylocks have really small bobbins. You usually have to have at least 2 for any garment with lots of stitching. This is definitely one advantage of the Bernina. Their bobbins are huge!
- The other thing I didn't care for, although I didn't try it, is that they have a belt driven walking foot. Now this may be a PLUS, but I don't know. I just thought it looked big and clunky.
- The appearance. It just looks sleek and professional
- Stitch width and length are a little bit bigger than the Babylock
- 1050 stitches per minute - same as Babylock (Bernina is 1000)
- Needle to tower space is almost 10”, about the same as the Aria and the Bernina 770. The 550 and 580 are only 7.5”
- The IDT - no need for a walking foot.
- The salesman/trainer at this shop is very friendly and helpful.
Posted by Nancy Winningham at 10:38 PM 8 comments
Labels: Aria, Babylock, Babylock Esg3, Bernina 580, Bernina 770, compare Pfaff Babylock Bernina, James Taylor, Pfaff, Pfaff 5.0
Friday, June 17, 2016
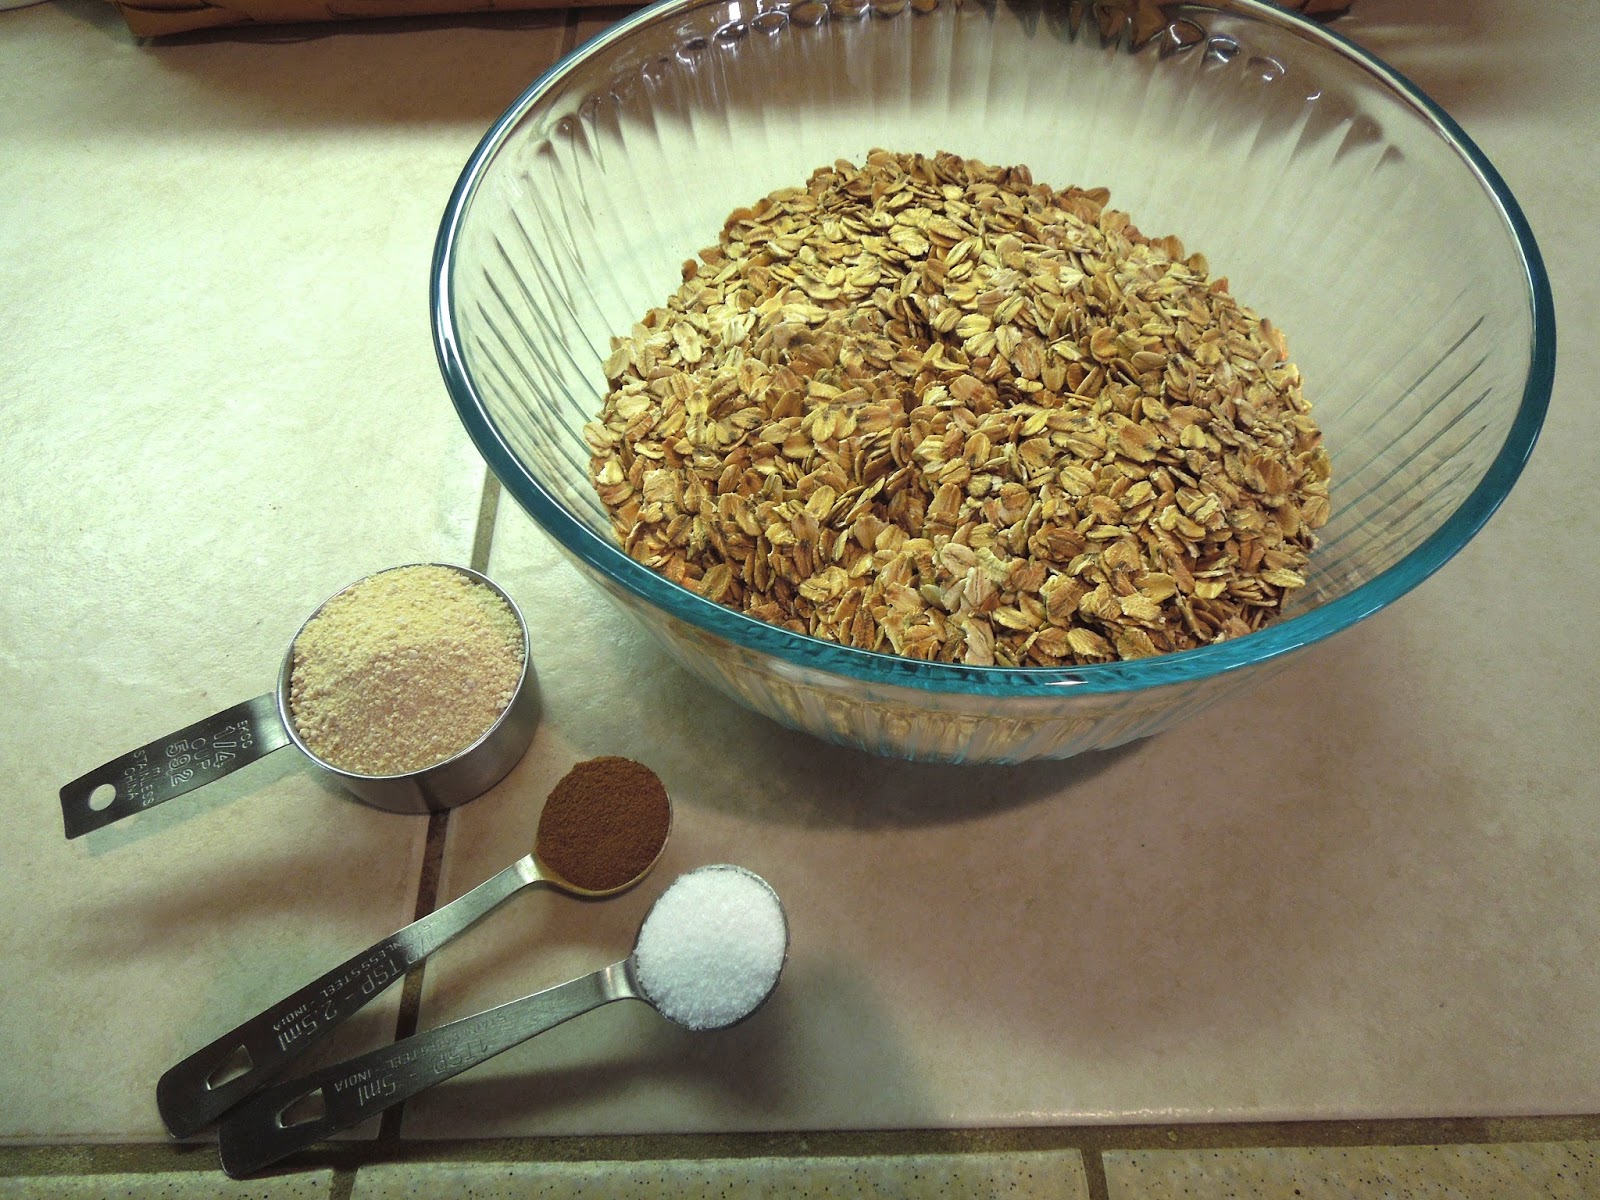
Best Oatmeal Ever! DIY Instant Oatmeal Packets
- put 1/2 cup mixture into a bowl. Add 3/4 cup water. Microwave on high for one minute.
- Put 1/2 cup mixture into a bowl. Pour boiling water over top until desired consistency
See printable version of recipe here: Nancy's Instant Oatmeal
Posted by Nancy Winningham at 9:11 AM 1 comments
Labels: gluten free, Healthy, healthy breakfast, Instant Oatmeal, Oatmeal packets
Sunday, June 05, 2016
Black Roses and Violins
Posted by Nancy Winningham at 8:46 PM 6 comments
Labels: Center Stage Strings, Jalie, Maxi, shrug