
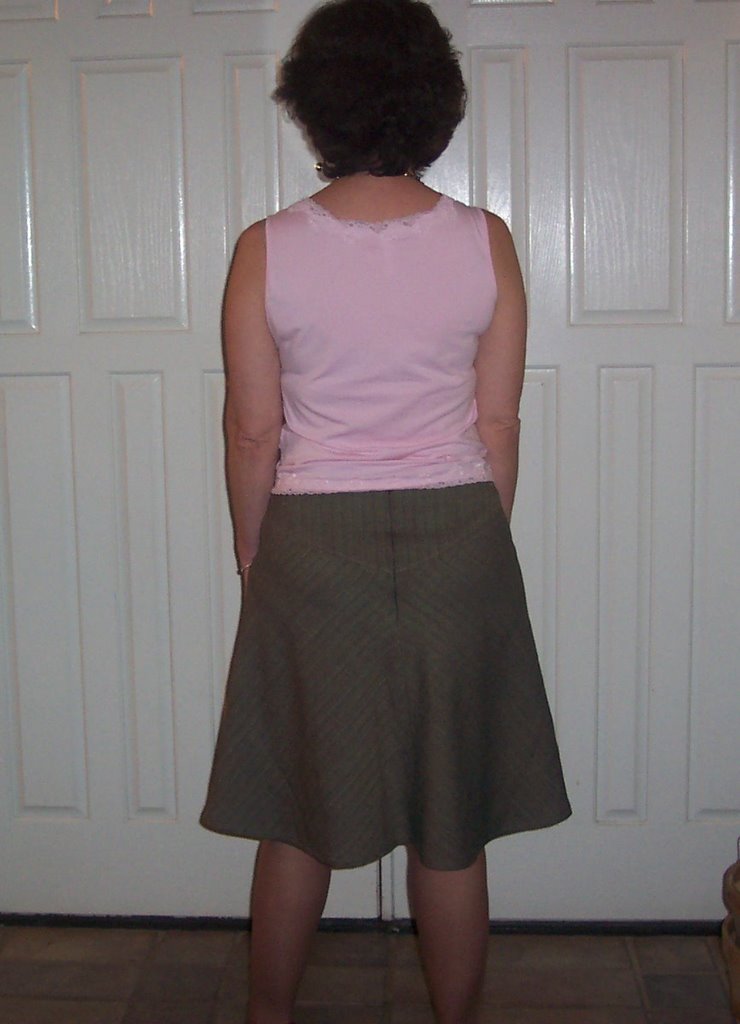
I am very pleaed with how this skirt came out. I will definitely sew it again. It didn't take long to finish. The only problem I had was that I should have staystitched the bias edges of the skirt, because it was hard to line up the lining, facing and skirt and make them all fit. Fortunately this wool is very forgiving. I like it so much I'm thinking about ordering some more and making a jacket to match. I thought this fabric was brown, but it actually looks quite green. Anyway, the pink ambiance lining looks absolutely adorable and feminine. I know I'll be wearing this one a lot!
Friday, January 26, 2007
Love this skirt
Wednesday, January 24, 2007
Thank you!
I want to say a big "Thank You" to those of you who have posted to my blog. I don't have any friends who are sewing at this time, so I really appreciate the feedback. So, if you view my blog, I would love to hear from you, and if you have a blog, I'd like to check it out too. Thanks again - Nancy
Burda WOF skirt
Well, I've been wearing my new coat and have received lots of compliments - mainly because no one else I work with sews, so they are very impressed. I am impressed with the pattern itself and the timeless cut. I noticed today that there is another teacher at work with a coat with very similar lines. She has had this coat for years and I have always admired it. Maybe that's what drew me to the pattern. 
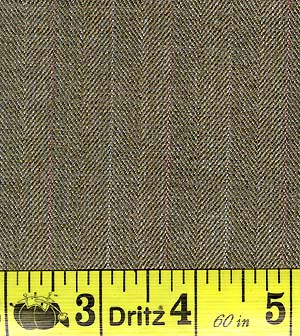
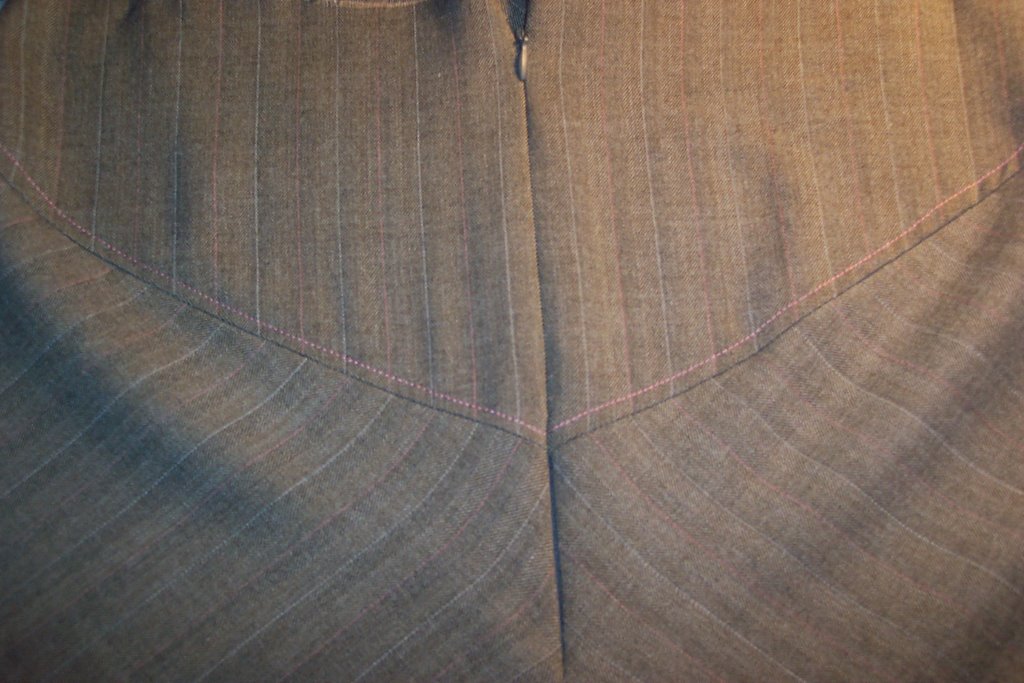
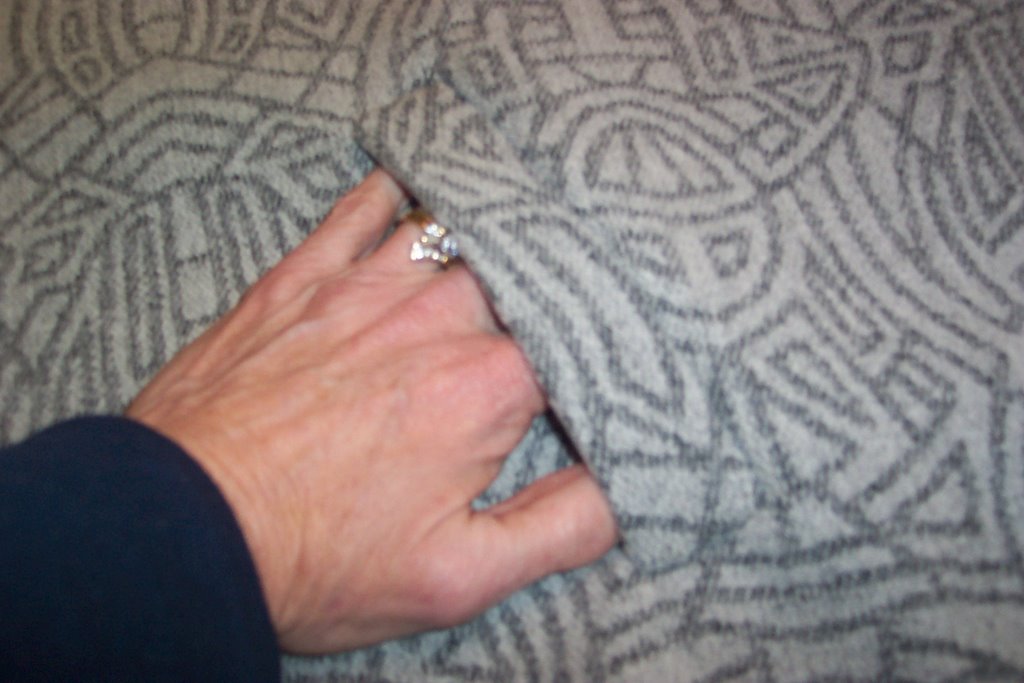
 Now, on to a new project. I have some brown herringbone wool crepe that I bought from fabric mart that I have been wanting to make into a skirt. I found a great pattern in BWOF October 2006 issue. It is basically an a-line skirt with a little more flare. I love the way the yoke starts in the back and wraps around to the front. I didn't really realize how the two pieces would line up, however, so I didn't match up the stripes from the yoke to the skirt. If I were to do it again, I would probably run those pieces on the cross grain or bias so that the stripes would go a different direction. They're so subtle in this fabric though that I don't think it will really matter. I had traced the pattern over the weekend, so was able to cut out and sew most of the skirt in one evening. I haven't done an invisible zipper in eons, (I'm talking probably since highschool) so that was also a new learning experience for me. I had to take one side out and do it over so the yoke would meet in the back. I would have finished it, but decided to line it first, which meant I had to prewash my lining fabric. Inspired by the pink and brown outfits in the December issue of BWOF, I decided to do a little pink topstitching on this one. There is also a thin pink thread that runs through the fabric as a stripe. I have some pink abmiance in my stash, so last night, I cut the lining out of it. I'm hoping to get the rest of it together tomorrow night.
Sunday, January 21, 2007
Finally Finished!

Well, I stayed up util 11:30 last night and finished everything except the button holes, buttons and belt loops. I finished those before church this morning. I am so pleased with my finished coat! The lining is beautiful and just looks liquid. I wore it to church this morning and it was very warm and comfortable.
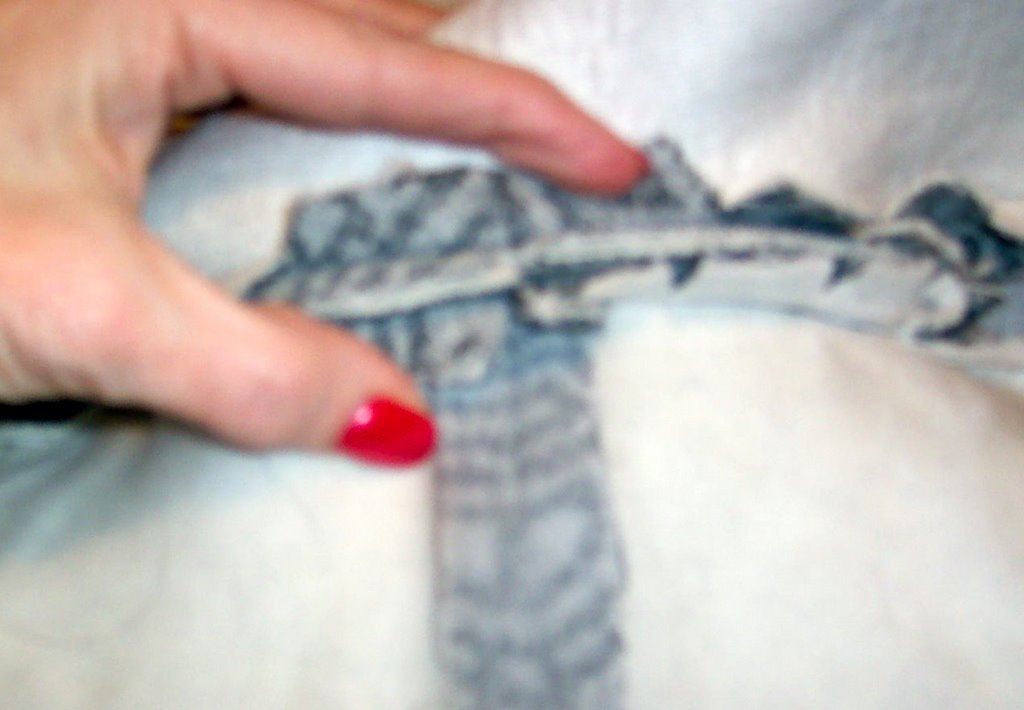
I struggled with the lining yesterday. I have never sewn this type of a lining before and I couldn't figure out what to do with the part of the front that extended beyond the shoulder seam. 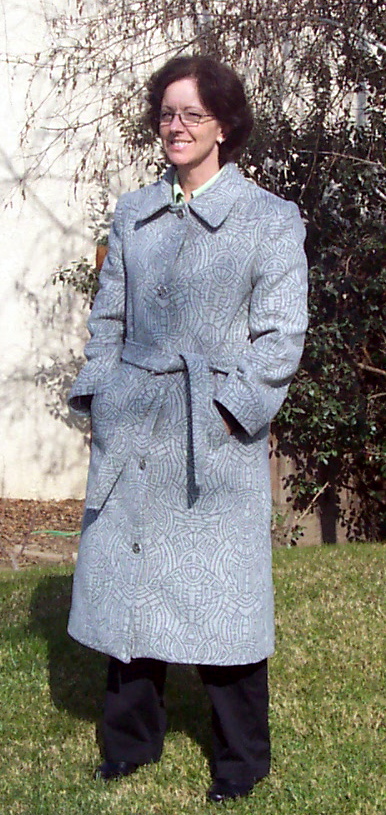 I finally decided to line up the facing at the shoulder seam and about where the second button would be on the coat facing. I then just ignored the edge of the fabric and sewed a seam allowances width from the facing, ignoring the edge of the lining. I didn't even trim off the excess, I just left it as an excessive seam allowance since it is inside the coat anyway. I'm sure I didn't do it "right", but it looks good now and the fit is right. **I have to tell you that I just got an email from Nancy Erickson from Fashion sewing group. She has been so supportive, and as I guessed, the excess in the shoulder seam was my own blunder. I failed to mark the pleat line on pattern, so did not make the pleats. No wonder it didn't line up correctly! Oh well, I won't be making that mistake again - and thanks again to Nancy for taking the time to view my blog and trouble shoot for me!
I stitched the hem and sleeve hems by hand and folded down a jump hem. I made thread loops for the belt loops since I thought that the self-fabric would be too bulky. I am already anxious to get on to my next project (a wool skirt from a BWOF pattern) but have to do some schoolwork instead. I will definitely sew this pattern again, and next time it will be MUCH easier! BTW, I am now the queen of ripping out mis-sewn seams!
Thursday, January 18, 2007
Revelations (and sleeves)

Revelations:
1. To rip out is divine. Actually, I am now convinced that the fact that I rip out a lot more seams makes me a better seamstress. I used to be so afraid of having to rip anything out. Now, I baste many seams first and then have to rip them out, that it no longer bothers me. So I say, "to rip is inevitable - embrace it!"
2. The beauty of working with good fabric - everything works!
The sleeves: I can't believe they're finally in. I was surprised at how much fabric needed to be eased in and never thought it would work, but they actually went in quite nicely (see revelation #2 above.) The coat is now heavy and hard to work around my machine. After sewing the sleeve parts together, I cut a two inch wide piece of fleece on the bias to sew in as the sleeve head. This served two purposes. a) it helped ease the sleeve and b) it will give the sleeve more support at the top. Next time I will use a thinner fabric. The pattern called for loose wool or self fabric. I didn't have any wool scraps and self fabric would have been too heavy. I am now ready to hem the sleeves and body, but I was too tired to do any more tonight.
Wednesday, January 17, 2007
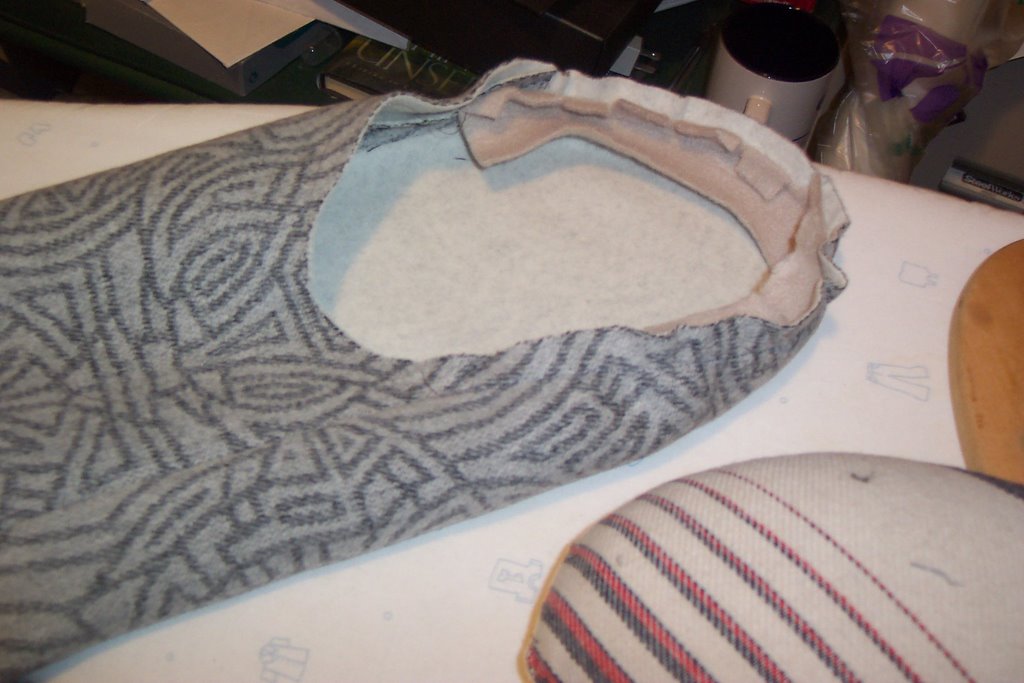
coat collar
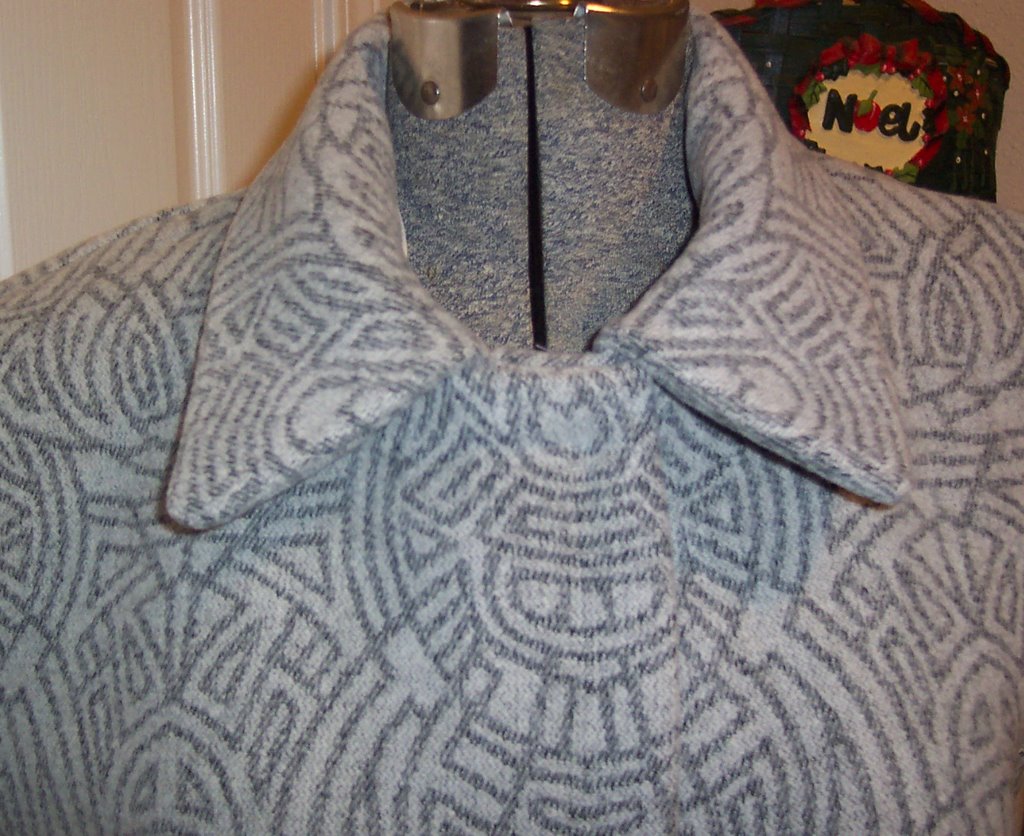
I finished the collar and facings tonight. Thank goodness for my tailors board for all of that pressing! The collar was pretty scarey because none of the notches lined up for me. I don't think I changed the neckline any, so I'm not sure why they didn't line up, but I think it all went on OK. I've never sewn a collar like this before, but it worked well. First I attached the under collar to the coat and then sewed the front facings on. The facings are sewn to exactly the place where the collar joins the coat. THen the back facing is sewn to the front facing. Next, the back facing and left over parts of the front facing are sewn to the upper collar. Finally, the inside of the two collar pieces are sewn together with long loose stitches by hand. I didn't know until it was all together if it would line up right, but it looks fine to me. Next, the sleeves!
Tuesday, January 16, 2007
Fitting the Body
Matching the center back seam was a bit challenging. I had the pattern matched all the way and then it got off about 12” from the top. I ripped out the top portion two times and restitched it and now it matches! I basted together the shoulder and side seams and realized I could have gotten by with making a size 12 rather than 14. I restitched the seams and cut back the shoulder seam allowances to the smaller size. Now I will need to cut the sleeve pieces smaller to fit the armscye. I’ll also have to remember to adjust all of my lining pieces. OK, I should make another coat after this one since I will have done all the work on this one and the next one should take less than half of the time!
Welt pockets
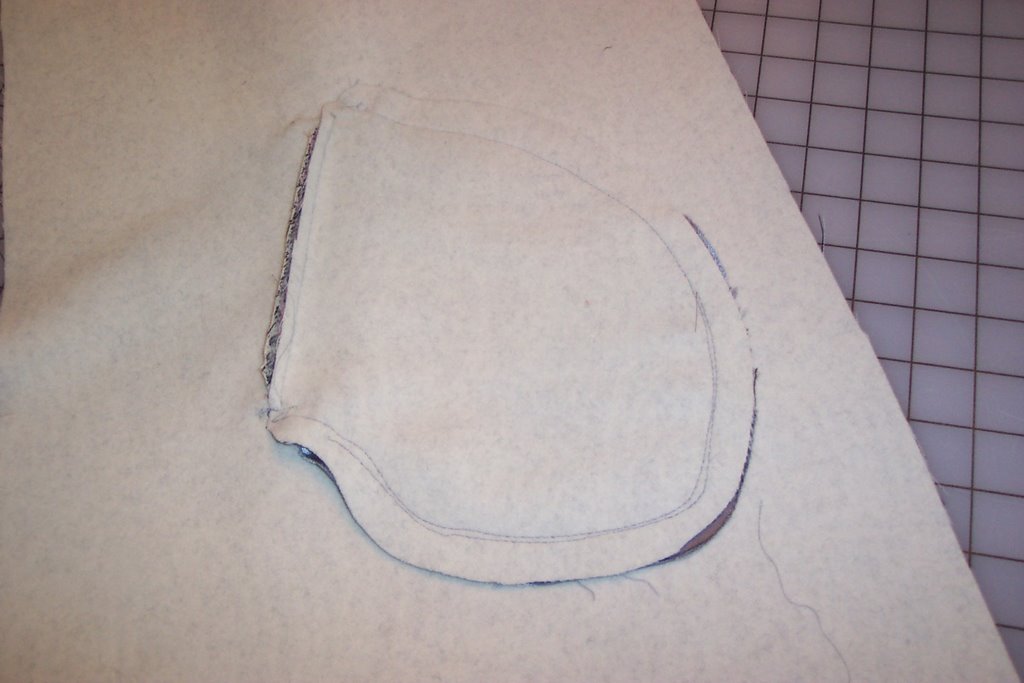 This weekend I learned how to make a welt pocket. Thank goodness I did some practice ones first! The first one was a mess and I couldn’t get it to turn properly. I decided to make another practice in plain cotton fabric so that I could see everything better and not have to deal with the bulk issue. That was it - I finally got it. I’m very pleased with how the pockets turned out on my two front pieces.
I also had an incredible disaster happen with my machine. I was stitching along and all of a sudden my machine started getting sluggish and then froze. I noticed a little piece of thread in the handwheel and started pulling it out carefully. Pretty soon I had a handful of thread, but it broke. There was an extra spool of thread on top of the machine, and apparently it had gotten caught in the wheel and started wrapping around it as I sewed. I ended up having to take the side and top off of my machine and found that there was almost an entire spool of thread wound around the wheel. It definitely took some doing to get all of tht thread out!
Saturday, January 13, 2007
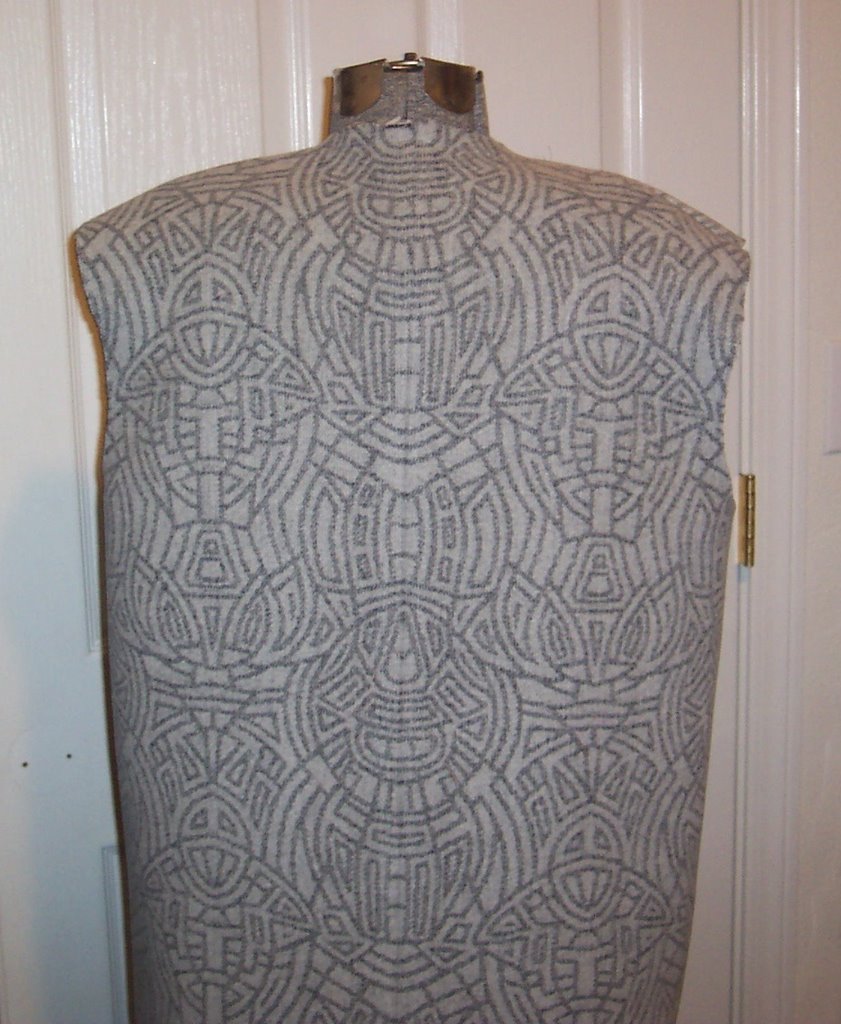
The making of a coat
Living in central California, you rarely need a super warm coat, but the days you need one, you really need one! I've decided to make a coat from Fashion Sewing Group's pattern 1963. (It's the picture in the upper right hand corner on this link) . I bought a beautiful wool from Fabricmartfabrics . I had also seen the same fabric at Saywer Brook for $39.95 a yard and I payed less than 20! I have never made a coat, and never worked with doublecloth, so Im sure I'm in for some challenges! Last weekend I traced the pattern and cut out out wool this week. Last night I fused all the interfacings. Welt pockets will be new to me, and I haven't figured out what I will do about the button holes. My machine is very old and does not make beautiful buttonholes. I guess I will either make bound buttonholes or hand=work them; I've never attempted either! It's very cold outside today (in the 20's) so I'm hoping I can actually start on my coat!
catch up
I haven't posted in a while, but I have been sewing. Even a few minutes a day beats nothing. So far, my favorite things I’ve made are the black Madison Avenue Dress, the brown New York Dress  and the multi-colored long sleeve tee.
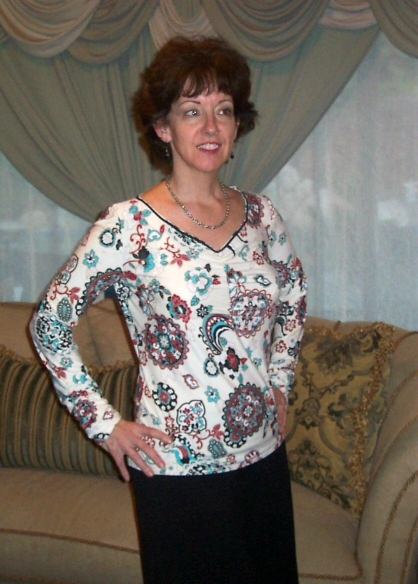 I really like the looks of the gray sparkle top, but had lots of struggles with what should have been a very simple top. I thought I needed to line it, so used a black georgette to line. Being a novice at choosing linings, I didn’t realize that the georgette would have no stretch and would end up way too tight. I tried putting gussets in the side seams, but that was still not enough. So, I ended up cutting the lining out of the top and just leaving enough for facings at the neck and armholes. Then, of course, they kept wanting to flip out, so I had to topstitch the openings to keep them in. The top does look good and I have still the jacket to make, but didn’t finish it in time for Las Vegas.
 I’m wearing the green crop jacket a lot, but it’s getting colder, so will probably have to wait for spring now. I made 2 pencil skirts, the first from a wool blend and the second from moleskin. The moleskin skirt fits perfectly. In the store, it looked like a very good match for the green moleskin jacket, but in natural light, they are not the same shade at all. The fabric was slick on the backside, so I chose not to line it. Mistake. Every-time I wore it with stockings, it would stick to my legs. I ended up cutting a lining and attaching it by hand to the underside of the facing. I’m much happier with it now and am sure I will make several others like it. I have some beautiful cuts of wool in black, blue and red, that I am planning to use.
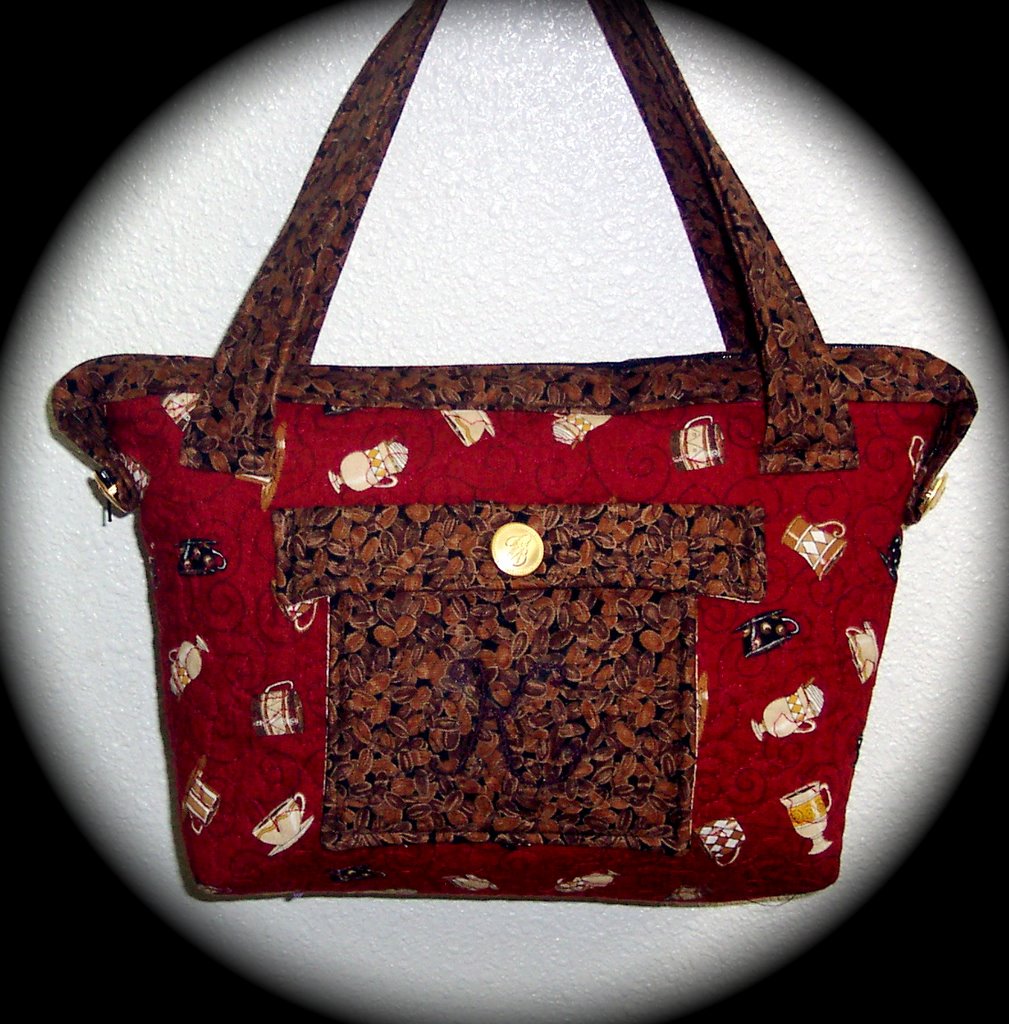
 I made a purse for my son’s girlfriend, and it turned out pretty cute. She works at Star-bucks, so I chose some coffee bean and coffee cup fabrics. I don’t really like the construction of the purse, so if I make it again, I will assemble the purse and then line it. The instructions have you line the sides before you put them together, but this makes for bulky seams and I think it looks unfinished on the inside. I really liked doing the stipple/ meander quilting on the faces and would like to do that again.
I've made two other bags as well. One was a duffel bag for my daughter,
 |
| From Sewing Projects |
 |
| From Sewing Projects |
Subscribe to:
Posts (Atom)


