Today was a great day. A friend of mine and her daughter came over to learn to sew. My friend Betsy and I teach together. Her daughter Nikki is a sweet girl, and the one I made the laundry bag for a while back. Nikki hasn't really done much sewing at all, and although Betsy has done a little, she hasn't really used a pattern. Last week we picked out these two patterns and some fabric.
Simplicity 1663 and

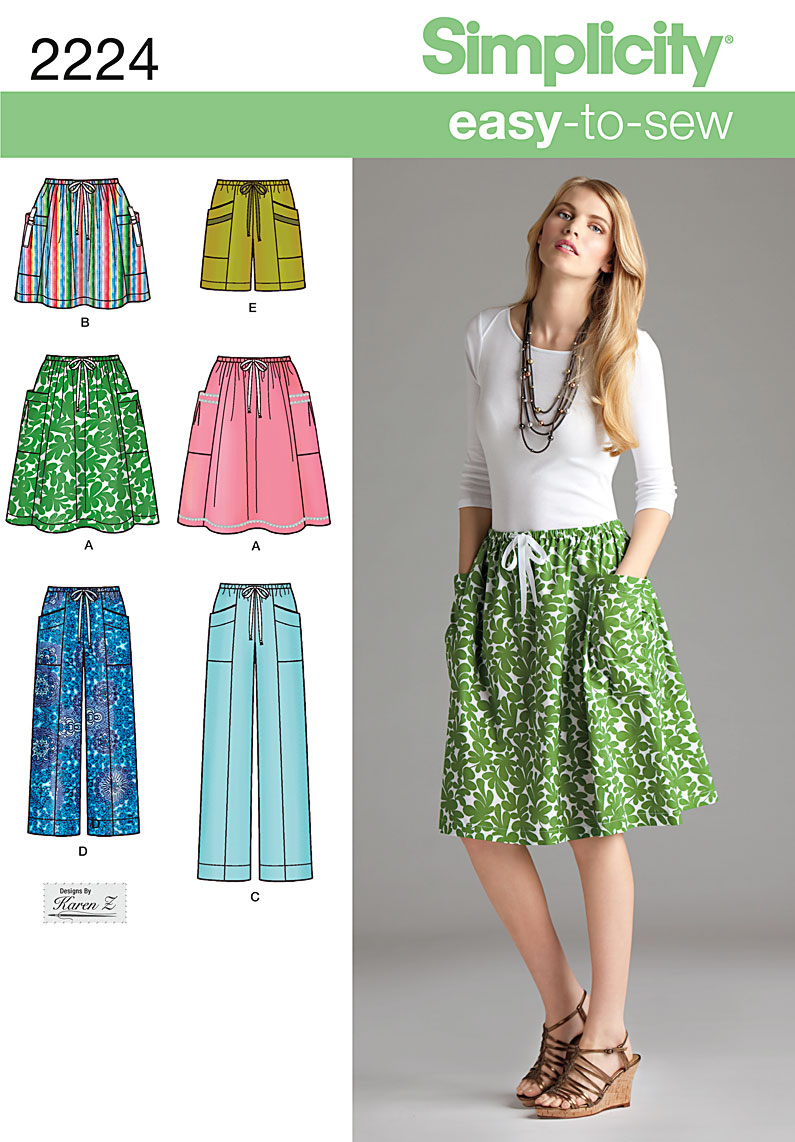
Simplicity 2224
The shorts were pretty straight-forward elastic waist shorts. First, I had her bring a pair of shorts that she liked. We measured that inseam in order to know how long to cut them. I think we cut off about 3" in length. After tracing the pattern, I had her cut out the shorts adding an inch to the top just in case. Then she assembled them up to doing the casing. Next step, try them on. We put band of elastic around where she wanted her waist to be and then marked it with chalk. We looked at the pattern and saw that there was 2-1/2 inches above the waist marking to the top of the pattern. We took the new waist marked line and added 2-1/2 (or whatever the measurement was - I'm too tired to remember now!) We made these same changes on her tissue, so now she has a TNT shorts pattern that she loves! And just look how cute they turned out!!

At the same time, Betsy and I worked on her skirt. What at first glance seemed to be a simple elastic waist skirt with patch pockets turned out to be more challenging for a beginner than I had anticipated. Betsy had some experience with the machine already, so that was helpful! She also is very smart and very mathematically minded, so these things worked in her favor. This pattern has
- patch pockets with pleats and a separate top band (which, by the way, are incorrectly drafted in the size small) we had to fudge pocket placement because the pattern piece barely fit into the seam allowance where it belonged. I double checked all of Betsy's work and everything seemed right on. Then I laid the original pattern pieces on top of each other and they did not match up at all!!!
- a separate waistband with side seams. The skirt has no side seams. It also does not have CF or CB seams, so lining up the waist band would not be easy for someone who had never done this before.
- buttonholes!! That's right, the tie in the front is actually a drawstring and it runs through buttonholes in the front! Yikes - what did I get this poor girl into?
- Not only that, the layout for this skirt requires that you lay part of the skirt out with the fold on one side and selvedges on the other. Then, you fold the selvedges in to the middle so that you have a fold on each side and cut out 2 more skirt pieces.
This pattern is marked "easy" but I would not call it easy for the above reasons. Well, Betsy was a champ and her skirt turned out fabulously. I think they both also have a new appreciation for the use of the iron in sewing, too :-) I'm so proud of the work they did today!


