Sunday, June 29, 2014

My favorite Morning place

Even though I stayed up late last night, I still woke up early.  I love to get up before everyone else (OK, that's just one other person right now,) and I love the quiet of the morning.  We are so blessed to have this lovely spot to sit and watch the river.  It's really getting low and I'm afraid of what it will look like at the end of summer.  It is usually not this low until late September, but we just haven't had enough rain or snowfall in the mountains.
You can't really tell from the pictures, but that is the river running through the trees down there.  There are LOTS of boulders, so the water makes a beautiful sound - like white water rapids!


Right now I can hear that donkey across the river.  Amazing how far sound can travel in a canyon.  This is the perfect spot to do my bible study, journaling, and check up on the email or blog a bit.


This week I got a couple of patterns from Cutting Line Designs that I am anxious to try when we get back from vacation.  I never used to like these type of styles, but lately I have really been intrigued by her designs.  Maybe living in the country is winning me over to a more relaxed look and lifestyle!

Saturday, June 28, 2014

Making Dresses

Andy and I are going on a cruise soon, and I need some dresses!  I went shopping for a dress and tried on many.  That whole incident was somewhat of a fiasco, and I left the boutique thinking,  "I could have a dress already cut out and ready to go from the time I spent here."  So, I left there and went to the fabric store.  Of course, I can never get out of the fabric store quickly - but still...


I found a great rayon jersey and knew I had plenty of patterns.  I also bought a pretty poly satin/ silky, but since we're leaving in just a few days, I figured I better stick with the knit!

I have this pattern, McCalls 6752, and thought it would make a great maxi.  Well, I got out the pattern pieces and got to work on the bodice, knowing that I would need a FBA.  After I did all the alterations to the pattern and started to lay it  out, I realized that the sheet with the skirt front and back were missing!  Now what?  Well, I figured I could certainly find another skirt pattern to use.  I have made Christine Johnson's Basewear 2 skirt before, so I pulled that out.  I had exactly enough fabric (2 yards) to make the dress long!


The dress is super easy - just a front, back and the skirt (the CJ skirt is the same piece for front and back, and it's a full pattern (not "place on fold") so you only have to cut it once!  Everything went together pretty quickly, and then I tried it on.  Remember that FBA I told you about?  Well, THAT was a big mistake.  I think Dolly Parton could have fit the bodice of this dress!  I ended up taking the dress apart at the shoulder and removing an inch and a half all the way across, and then I angled down another half inch to the front edge.  The bodice fits much better now, but next time I will also need to adjust the back so that the shoulder seams are not so far forward.
I do not have pictures yet, but when I tried it on last night (before fixing the shoulders) I realized that I either need to lose some serious weight quickly, or I need to get some super powerful spanx!  This dress is CLINGY.  Thank goodness it is black!!

I am still waiting to hem the dress because I am going out on Monday to find some strappy sandals to wear with it and the other dress(es) I plan to take.

My original plan was to finish this vogue dress.  I started making it for an event last September.  When I realized I was not going to finish it in time for the event, I quit working on it.  Then I lost interest.  It has been adorning my dressform for the last 10 months!  Of course, when I went to work on it, I could not find the lining.  I knew I had cut one out, but did not know where it was.  When I got up today, I found it right away!  So, as soon as I finished the chain-link dress, I pulled out that lining to see what I had done.  I was so excited to see that I had already sewn together the front of it, which was the most difficult part.  Today I almost finished the dress.  I just have to figure out how I'm going to do the vent and vent lining.  Hope to post pictures tomorrow night.


OH!  And DH got a new suit (he's been needing one!) to wear on our anniversary on the cruise.  There is just something about a man in a black suit, isn't there?

Wednesday, June 25, 2014

Craig's Blouse finished!


I finally finished the blouse.  I had some trouble with the vents.  After following the directions, my vents did not look right.  I have made vents before, but it has been years.  I wasn't sure what I needed to do to fix these, but after help from fellow sewists at Artisan's square, I knew what to do.  I ended up ripping out the top stitching, taking some of the sleeve out of the cuff, and then redoing the vent facing.  I'm much happier now!   Gotta love the internet sewing community!!   The picture on the right is how they looked before I fixed the.

 I've been working all week at school, so I've only been getting to my blouse a few minutes here and there.

Things I love about this blouse

  • The fabric!  I used a rayon challis, and it feels great.  I love the way it drapes too.
  • The fit.  It's hard to tell in the pictures, but it fits really well through the shoulders and back.  Also, there is no gaping at the neck in the back or front.  I cut a 2 in the shoulders and sleeves, and did a pivot and slide to the size 3 at the underarm.  I love that Silhouette patterns has different cup sizes.  I can make the 2/3 D and not have to do any FBA
  • The French cuffs - sort of.  I love the way they look, but they are cumbersome to open and close. 
  • I love the way Peggy does the facings (and cuffs.)  You create the facing and then slide the bodice into it and top stitch. (see picture on the left)


Things I don't love and will change next time:
  • The cuffs.  Although I like the look, I will make regular cuffs next time
  • The gathers in the front.  They hit right below the bust, which is not flattering.  I tried to be careful and make sure they were even, but it is just not flattering.  Next time I will either place the gathers at the bust or at the waist.
  • The vent.  Next time I will fold the vent facing/binding in half lengthwise before I sew it on.

I really do like this blouse and will definitely make it again!


Saturday, June 21, 2014

Craig's Blouse progress

I didn't have a lot of time to sew yesterday, but I did get "Session One"  finished.


I ended up trimming all of my pieces against the pattern because of the challis fabric.  On some patterns it wouldn't really matter that much, but since this is more fitted, it will need to be closer to the mark.  Hoping to make good progress today.

Thursday, June 19, 2014

Next up - Leopard!

I went into JoAnns earlier this week to look for some linen and I ran across this leopard print rayon challis.  I just recently received the "Craig's Blouse" from Silhouette patterns and think this will be a perfect pairing.

However, Rayon challis is NOT my favorite fabric to work with.  It doesn't hold its shape when you're working with it and it moves all over the place.

I prewashed the fabric and ironed it.  I noticed that the selvedge had shrunk or pulled up a little, so I clipped it every couple of inches.  If you don't do this, the fabric does not lay flat and your pattern pieces will be distorted.  I have successfully used starch in the past, but I just wanted to get going on this.

Yesterday I traced out all the pattern pieces on Swedish tracing paper.  I really like this because it is like medium weight non-woven interfacing.  I wish I had space to hang my patterns, but I usually end up folding them back into the envelope, or a bigger envelope.


For this blouse, I cut a 2 in the neck, shoulders and sleeve.  I cut a 3 from the bust down.  I did a pivot adjustment to keep the armhole the same size.  As I was tracing the sleeve, I noticed that it has a weird curve in it.  I don't need the extra fullness here, so I drew a straight line and cut it.  Uh oh - I hope I didn't accidentally trace the 2W!  I better go check that!!


Well, it's all cut out.  The last Silhouettes pattern that I made was a rayon crepe, and I did not use interfacing.  This fabric, however is very unstable.  The picture on the right shows something that typically happens with challis.  When you lay out your cut pieces individually, they are often bigger than the pattern pieces.  This is exactly why I chose to interface the collar, cuffs and front facing of this blouse.  I really love Peggy Sagers's knit interfacing, and it will give just enough stability to these areas.  Whenever I work with a fabric like this, I like to put the pattern pieces back on the fabric pieces and check for accuracy.   
OK, I just checked that pattern piece and it's the right one.  I think it's because of the short and long sleeved versions printed on one.  I have to go to work tomorrow, so I hope I can sew tomorrow night.

Wednesday, June 18, 2014

Sewing for Laundry

My main goal this summer was to do a lot of sewing.  Well, once again, work is taking over my life even though I'm supposed to be on vacation.  I won't get into it, because I'll be ranting forever!  Let's just say that school's been over for over a week and a half, and today is the first day I've had to do ANY sewing.  Thankfully, I haven't been working every day - hubby and I did take a little time to go shopping for our vacation this summer, and I finally have time to start getting excited about it.  We are going to go on a cruise to Alaska!  Anyway, more about that later.

A good friend of mine has a daughter going to Point Loma this fall.  She asked me to sew a laundry bag for her.  Normally I DO NOT sew for anyone other than family, and rarely for anyone other than myself.  Yeah, I'm selfish that way.  BUT, my friend Betsy is a good friend and she saved my butt one day this week when I was about ready to fall apart.  OK.  I did fall apart.  But she was there in 20 minutes and helped me make it through.  Yay Betsy!!  Also, her daughter is pretty awesome as well.

Well, I've never made a laundry bag, so of course, I had to make a big project out of it.  I'm sure a laundry bag can be made in a lot less than 5 hours, but not in my sewing room ;-)  If I made another one (which I won't) I could probably make it in half that time.  For one thing, I haven't used my embroidery feature in so long, it took a good deal of time just to figure out how to do it.


I'm really glad I decided to the embroidery on the pocket instead of the whole bag.  You know, incase either I or the machine messed up.  Which of course, did happen.  I finally got my embroidery going and it turned out really well.


I'm not sure what the fabric is, but it may be duck or some other home dec type fabric.  It's a little looser weave than duck.  Since the fabric is yellow and the lining is dark green, I didn't like the way the green showed through on the pocket.  Of course, I had already made the pocket by the time I had this realization, so I just ironed on some interfacing to the underside of the embroidery.  It did help, but it might have been better if I would have sewn on some white fabric or muslin underneath.

Why I thought it would be a good idea to line this bag is beyond me, but it's done.  Betsy bought the fabric, so I was thinking that she was buying quilting weight fabric, so I told her to get lining.  She does not sew at all, so we had lots of texts and phone conversations while she was in the fabric store and I was 45 minutes away!


I wanted to make the bottoms a little squared, so I marked off a 4" square in each corner (both sides) and them pulled them out and sewed across to make the box bottom.   Good thing I've made some purses that used this technique before or I probably would not have figured it out!


Betsy bought this cool webbing for the handles.  I had a hard time deciding where to place the handles, but I think I got it right.  Also, the bag was way to long, so I cut a couple of inches off the top.  I wish I would have put the pocket a few inches lower, but when I originally marked it, I was thinking of using a 6"square to mark off the box corner.  That was too big and made the bag too narrow.  I would have preferred to make a double drawstring, but I did not have enough cording, so I went with single.  It's 45 minutes for me to get to the fabric store now that we've moved to Three Rivers.  That would be 1.5 hours of sewing time, let alone the time I would have wasted in JoAnns!


 I'm happy with how the bag turned out, but I can't help thinking that I could have made a dress (or at least gotten a good start) in that time!  That's OK though, because I really wanted to do this for my friend.  Good thing Nikki's a strong girl - this bag will hold a ton of laundry!!

Sunday, June 15, 2014

Getting organized - a new Planner - or "The Green Book"

 I have been using the calendar on my iphone, but ever since Apple changed ical, I haven't been happy with it.  Also, for some reason, I was occasionally putting something on the wrong day by mistake, or missing things because I could not see everything at once without clicking on the days.  Eventually, I started looking at other options.   I am completely amazed at how many posts and Youtube videos there are about setting up a day planner. Well, now I'm adding to it - but mainly because I figured out a good calendar hack that I couldn't find anywhere on the internet.

 I started seeing all of the posts on Filofax.  I love the look of the Filofaxes and started reading about all the pros and cons. I was comparing Day Runner, Day timer, Filofax, Franklin Covey, and every other planner I could find.  I really like the looseleaf format and there are a lot of cute pages you can get on Etsy to add to your planner.   I decided to resurrect my old Daytimer, which is still like new.  Since I already had this planner (with pages that were about 10 years old,)  I bought some new pages and gave it a whirl.  I really liked it, but it's just too big! Mine uses the 8.5 X5.5 pages, or classic size.  It is actually much bigger because of the cover and rings.   I was constantly carrying around this big notebook, and it wouldn't fit in my purse.   I tried to find a smaller planner, but didn't want to spend $80 until I knew it would work for me.  Also, I don't like having blank calendar pages because it seems like a waste of paper!!


Then, I started reading some things about bullet journaling.  This seemed to be a good thing for me, since it is so flexible, and I can keep EVERYTHING in one place!  Some people are using bullet journals plus other notebooks, but for me, the idea is to only have to look in one place for something.  I am definitely on the ADD side, and have tons of notebooks all over the place, and can never remember which one I wrote what in!  The only exception is that I will probably still keep a sewing notebook in my sewing room which has information in it that only applies to things I am doing in the sewing room!  All of my random ideas for what I want to do regarding sewing will go into The Green Book.  Until, of course, it becomes The Purple Book!


OK, for set up.  If you want to know how "official" bullet journaling works, check out this website.  I am pretty much going with that method.  I ordered a beautiful purple Moleskine with squared pages, but did not want to wait to get it.  Also, I wanted to make sure I knew my system before I started using the Moleskine.  (Kind of like waiting to use the "good" fabric!)  I went to Target and found this notebook.  It is exactly the same size as the large Moleskine (5"X8.25") and even has the elastic strap and pocket inside the back.  Unfortunately, it does not come in grid (squared) paper, so I got lined.  It was about $7 or $8 and the Moleskine is $12.88 at Amazon and as much as $18.00 in some stores!  The paper quality seems to be the same, but I haven't written in the Moleskine yet to know for sure.


So, the pages are just slightly smaller than the one I was using before, but since the cover is smaller, it is much smaller overall and fits in my purse.


The first part of my journal is the index.  Since I am not making sections in the journal, the index helps me find stuff.


Next I added some boxes so that I could add in any future dates that I need.  More about this in a bit. * (This is not part of the "official" bullet journal)


Each month you make a month page like this.  On the left are the days of the month and on the right are the tasks for the month.  I colored in the weekends because I need to see the weeks separated.  I didn't think I would like this format, but I actually do.


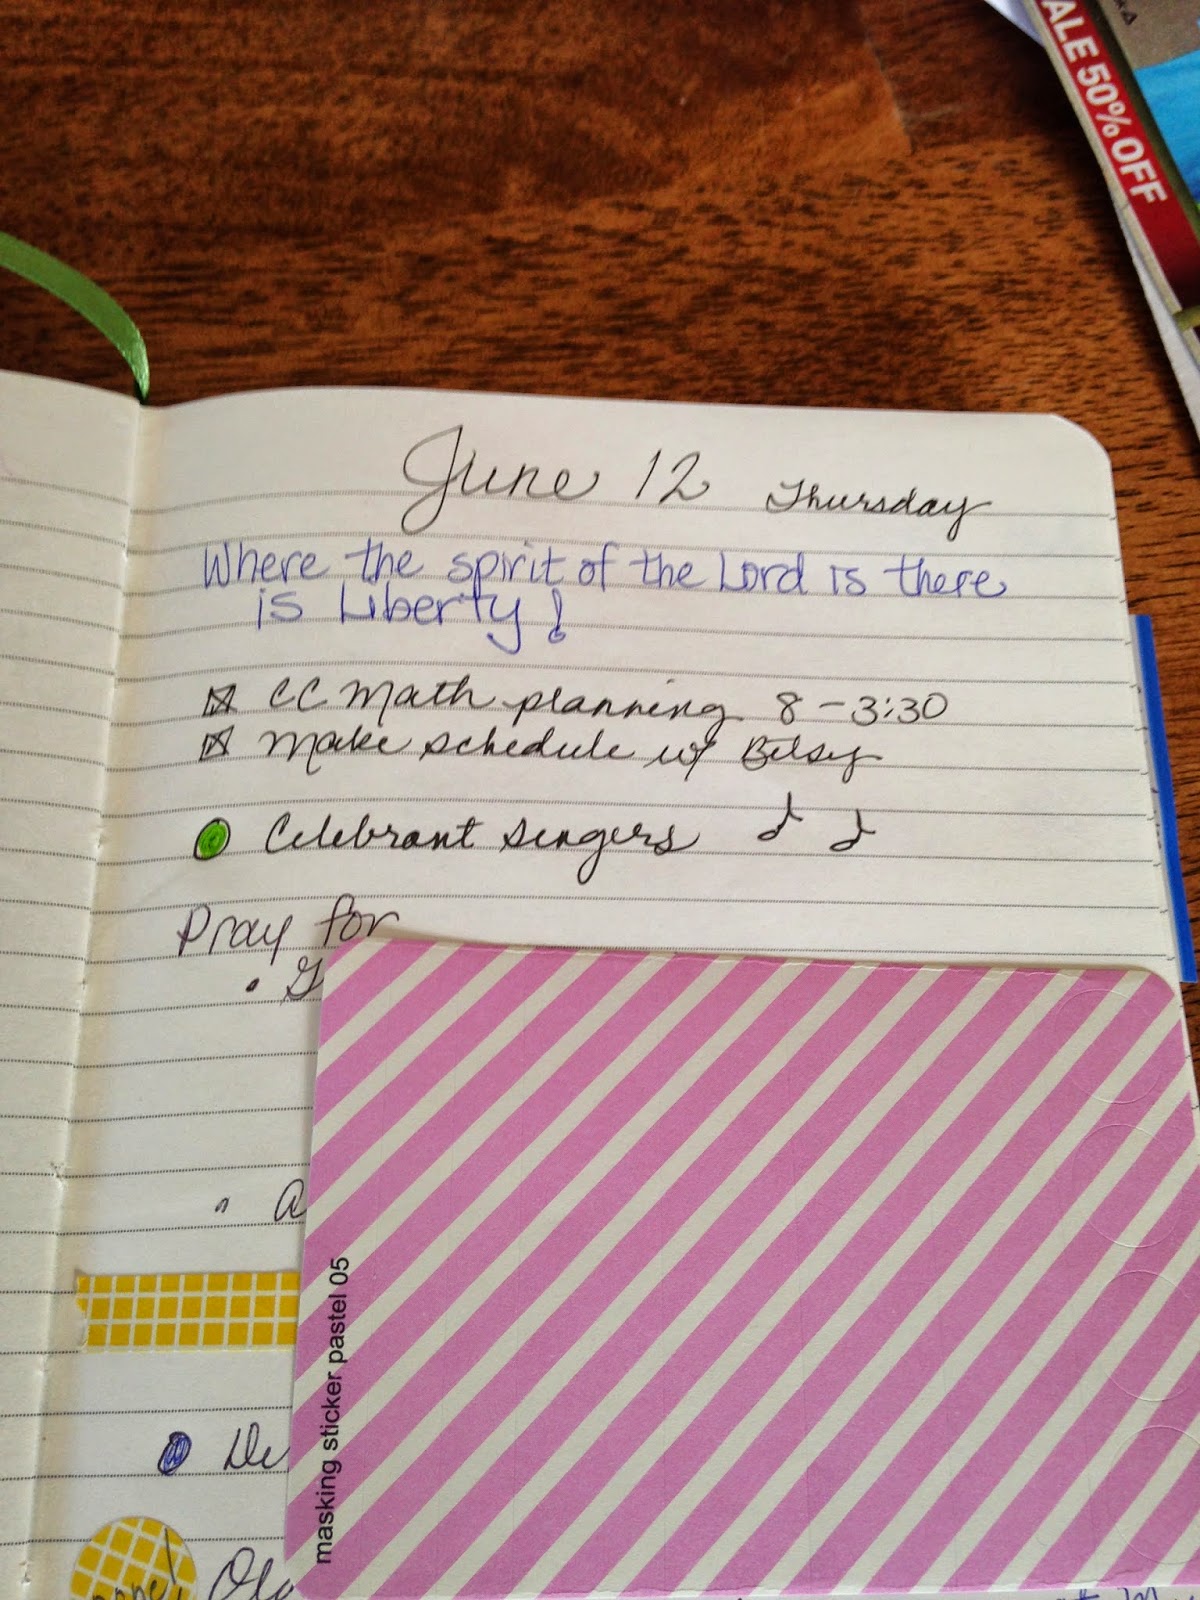
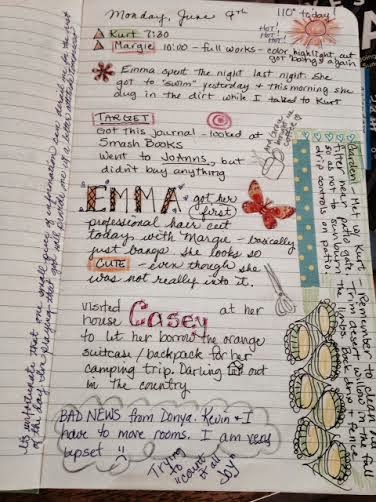
After this come your daily pages, and random stuff.  So, I have some days that are only a half a page, and some that are multiple pages.


 In between the days, I have my random notes and lists.  These are the things that I enter into the index.  An example is this Summer Wardrobe page that I jotted down when I was looking at the JJill website.  I have other wardrobe ideas in my journal, so I just added the page number to the index page.


One thing I want to add next month, is an expenditures page right after the monthly task page.  I will tab this and use it to track my spending.  I do have a page where I track online orders.

I like to doodle, color, zentangle, and just decorate things.  I draw and doodle in my journal.  I used to be an avid scrapbooker, so I am using up a lot of my old stickers to decorate my journal pages.  I usually do this when I am watching TV with DH in the evenings.  I keep all of my colored pencils, stickers, pens, etc. in a basket that I use in the evenings.  During the day, I just write with a regular pen.  Sometimes I use pencil, but over time, pencil will fade away, so I try to avoid doing that.


*Now for my calendar hack.  Since I am using just a journal, and not a day planner, there are no calendars in it.  I was finding that I was getting a lot of dates for July and it is only the middle of June.  I was writing them on my calendar page in the beginning of the journal, but there was no way to keep the dates in order.  I decided that I would print and paste some calendar pages in the back of the journal.  I searched the internet and could not find what I was looking for.

Here's what I did.  I use a Mac, but I'm sure you could do something similar for PC.
I went into the ical program and made sure I had all of my appointments added in.  (I had just been doing some planning for work and had added a lot of new dates.)  It is so much easier for me to add things in on the computer than on the phone.  This automatically transfers to my phone, but lately I haven't even been using the calendar on my phone since I can carry my notebook with me now.
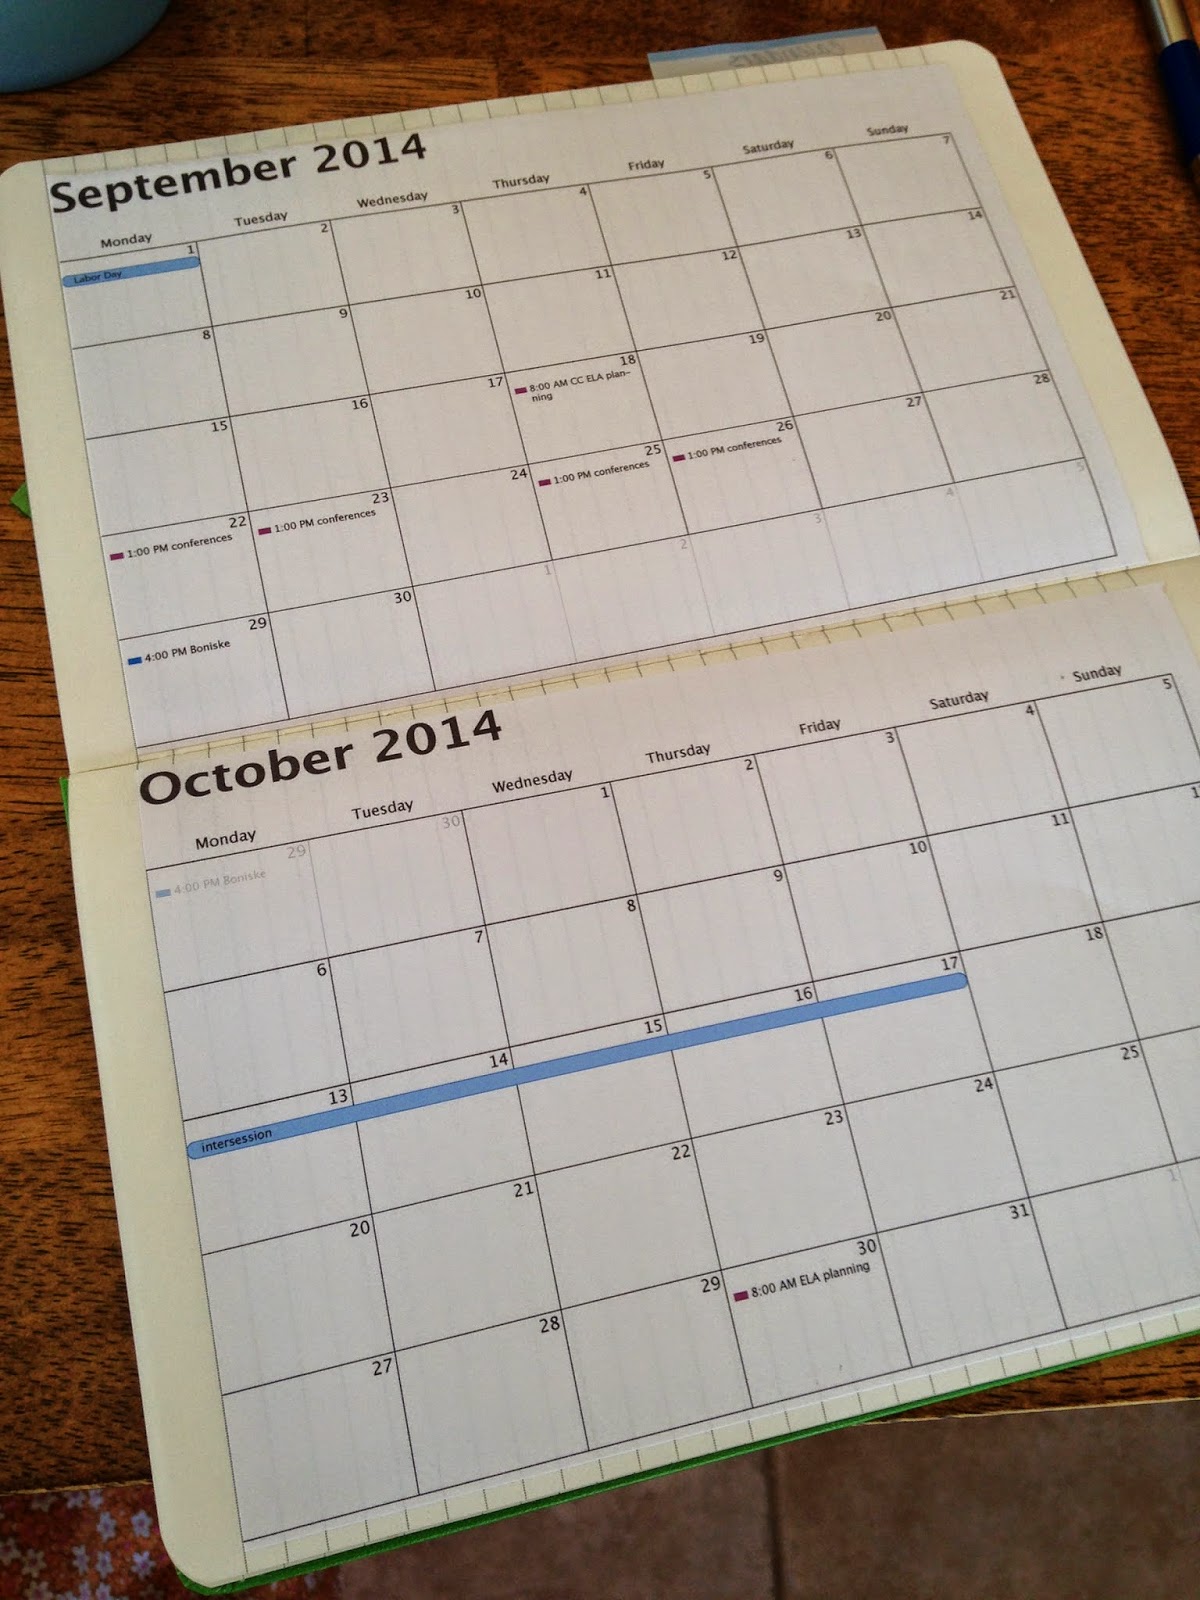
Then, I printed the months to the end of the year.  In the print screen I changed the size to 5X7 with no borders, eliminated the mini calendar and the calendar key.  These changes made the squares much larger.

Now I have my future appointments in calendar format in the back and have plenty of room to write additional things in the squares.  I glued the calendars in with sticky dots, so I can remove them if I decide to.  Now that I know how easy it is to print them up, I will probably just print up new ones when this journal is full and I start using "The Purple Book."

  I love my new journal.  I take it with me everywhere I go.  I use it to take notes at church, write lists, keep track of appointments, and any other brain dump that I need! I have only been using this format for about a week, but so far, I like it better than any other system I have used. I will keep you posted.

I think when I start a new journal in 2015, I will put a full year calendar (dates only) inside the front cover, and a 2016 calendar in the back.