When you order a mystery bundle, you never know what you are going to get. I hadn't ordered one in years, but was prompted by an email I received from Fabric Mart a few weeks ago. I went ahead and ordered the 6 yard bundle for $10.00. I figured that even if I only liked one of the fabrics, I would still come out ahead. Well, this is Fabric #3 out of the bundle, and I love it. I originally was going to make a pair of pants out of piece #4, but changed my mind this morning. This was going to be the top to go with it, but it will still go with many things that I have. The background is gray with a black burnout, but for some reason, it seems to read "brown" so I think it will go with either brown or black.
The pattern I used, Vogue 8636
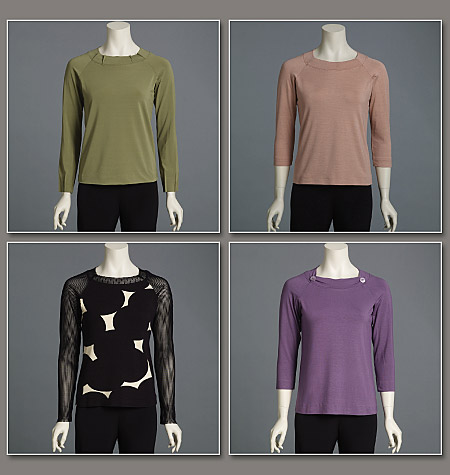
Since there was nothing that needed to be matched in this fabric, I didn’t use a single layer layout. I folded both selvedges to the middle so that I had two folds, and cut out the front and back on these fold. Then I folded the rest in half and cut out the sleeve and neck pieces. Since I had made the pattern before, this was quick as I had no alterations to make. (Another reason I chose this pattern!)
When I made my Bianca Hack, I also used a tissue knit. I fought this thing on the serger as it kept eating the cut off part into the seam allowance stitching. It was kind of a pain. On this top, I decided to NOT use the serger. At All.
 I finally decided to give the Sewing Workshop Sew Confident a try. I started with year 3. One of the lessons in the series is on tricky knits. So, I did learn one thing. Using a double stitched seam and trimming close to the second stitching will give you a flatter seam allowance, stop the curling, and be less bulky than a serged seam. I’m a little bit underwhelmed with the Sew Confident so far, but I have only read about the first 4 lessons. I’m not sure what I was expecting, but we’ll see how it goes. Have any of you tried it? What do / did you think? I have not yet received the 3 patterns that go with that year, but I am anxious to get those (although purchasing the patterns is optional. However, you get 3 for the price of 2, so that’s definitely worth it!)
 Another thing I did because of this tissue knit was to use left over tissue paper to start and end my seams. My sewing machine does not have a single needle sole plate, so the tissue tears away easily enough and solves the problem of the fabric being pulled into the feed dogs. I usually use medical exam paper to trace my patterns and I just use left over pieces to do this. I keep them in a little plastic container by my machine.
 The two times I made this top before, I used darts in the neckline. This time I used the pleat and button method. I’m pretty happy with the way it turned out.
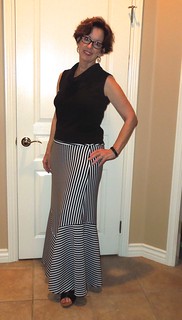
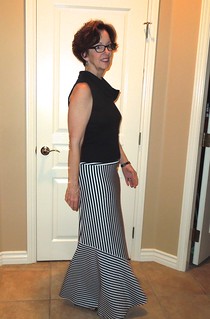
... And here I am with the requisite tree growing out of the top of my head. (Since I use a tripod and delay switch on my camera to take pictures, I really need to think about this in the future!)



 Posts
Posts